Silken Tofu with Salted Egg Sauce
This Fried Tofu with Salted Egg Sauce features silken tofu fried until crispy on the outside and then coated with a rich salted egg yolk sauce. It is great as an appetizer as well as a main dish with rice.

In Vietnam, we call this dish “đậu chiên trứng muối” (or “đậu sốt trứng muối“). It was one of my favorite dishes to order when we went out for dinner in the past. I think you may also come across this dish at some Chinese restaurants.
The dish is not difficult to make at home, but we have spent quite a bit of time experimenting so that the tofu’s exterior is pleasantly crispy and the salted egg sauce is rich and creamy. This sauce also goes very well with pumpkin fritters or shrimp.
Ingredients
The main ingredients for this tofu with salted egg sauce recipe are silken tofu and salted duck eggs.
- Silken tofu is great for steaming (such as steamed tofu with ground pork, with mushrooms & vegetables, or with black bean sauce) and some deep-frying tofu dishes like the one I’m sharing today.
- Salted duck eggs can be found at Asian grocery stores. You may have seen me using them in mooncake filling or in this fried rice dish.
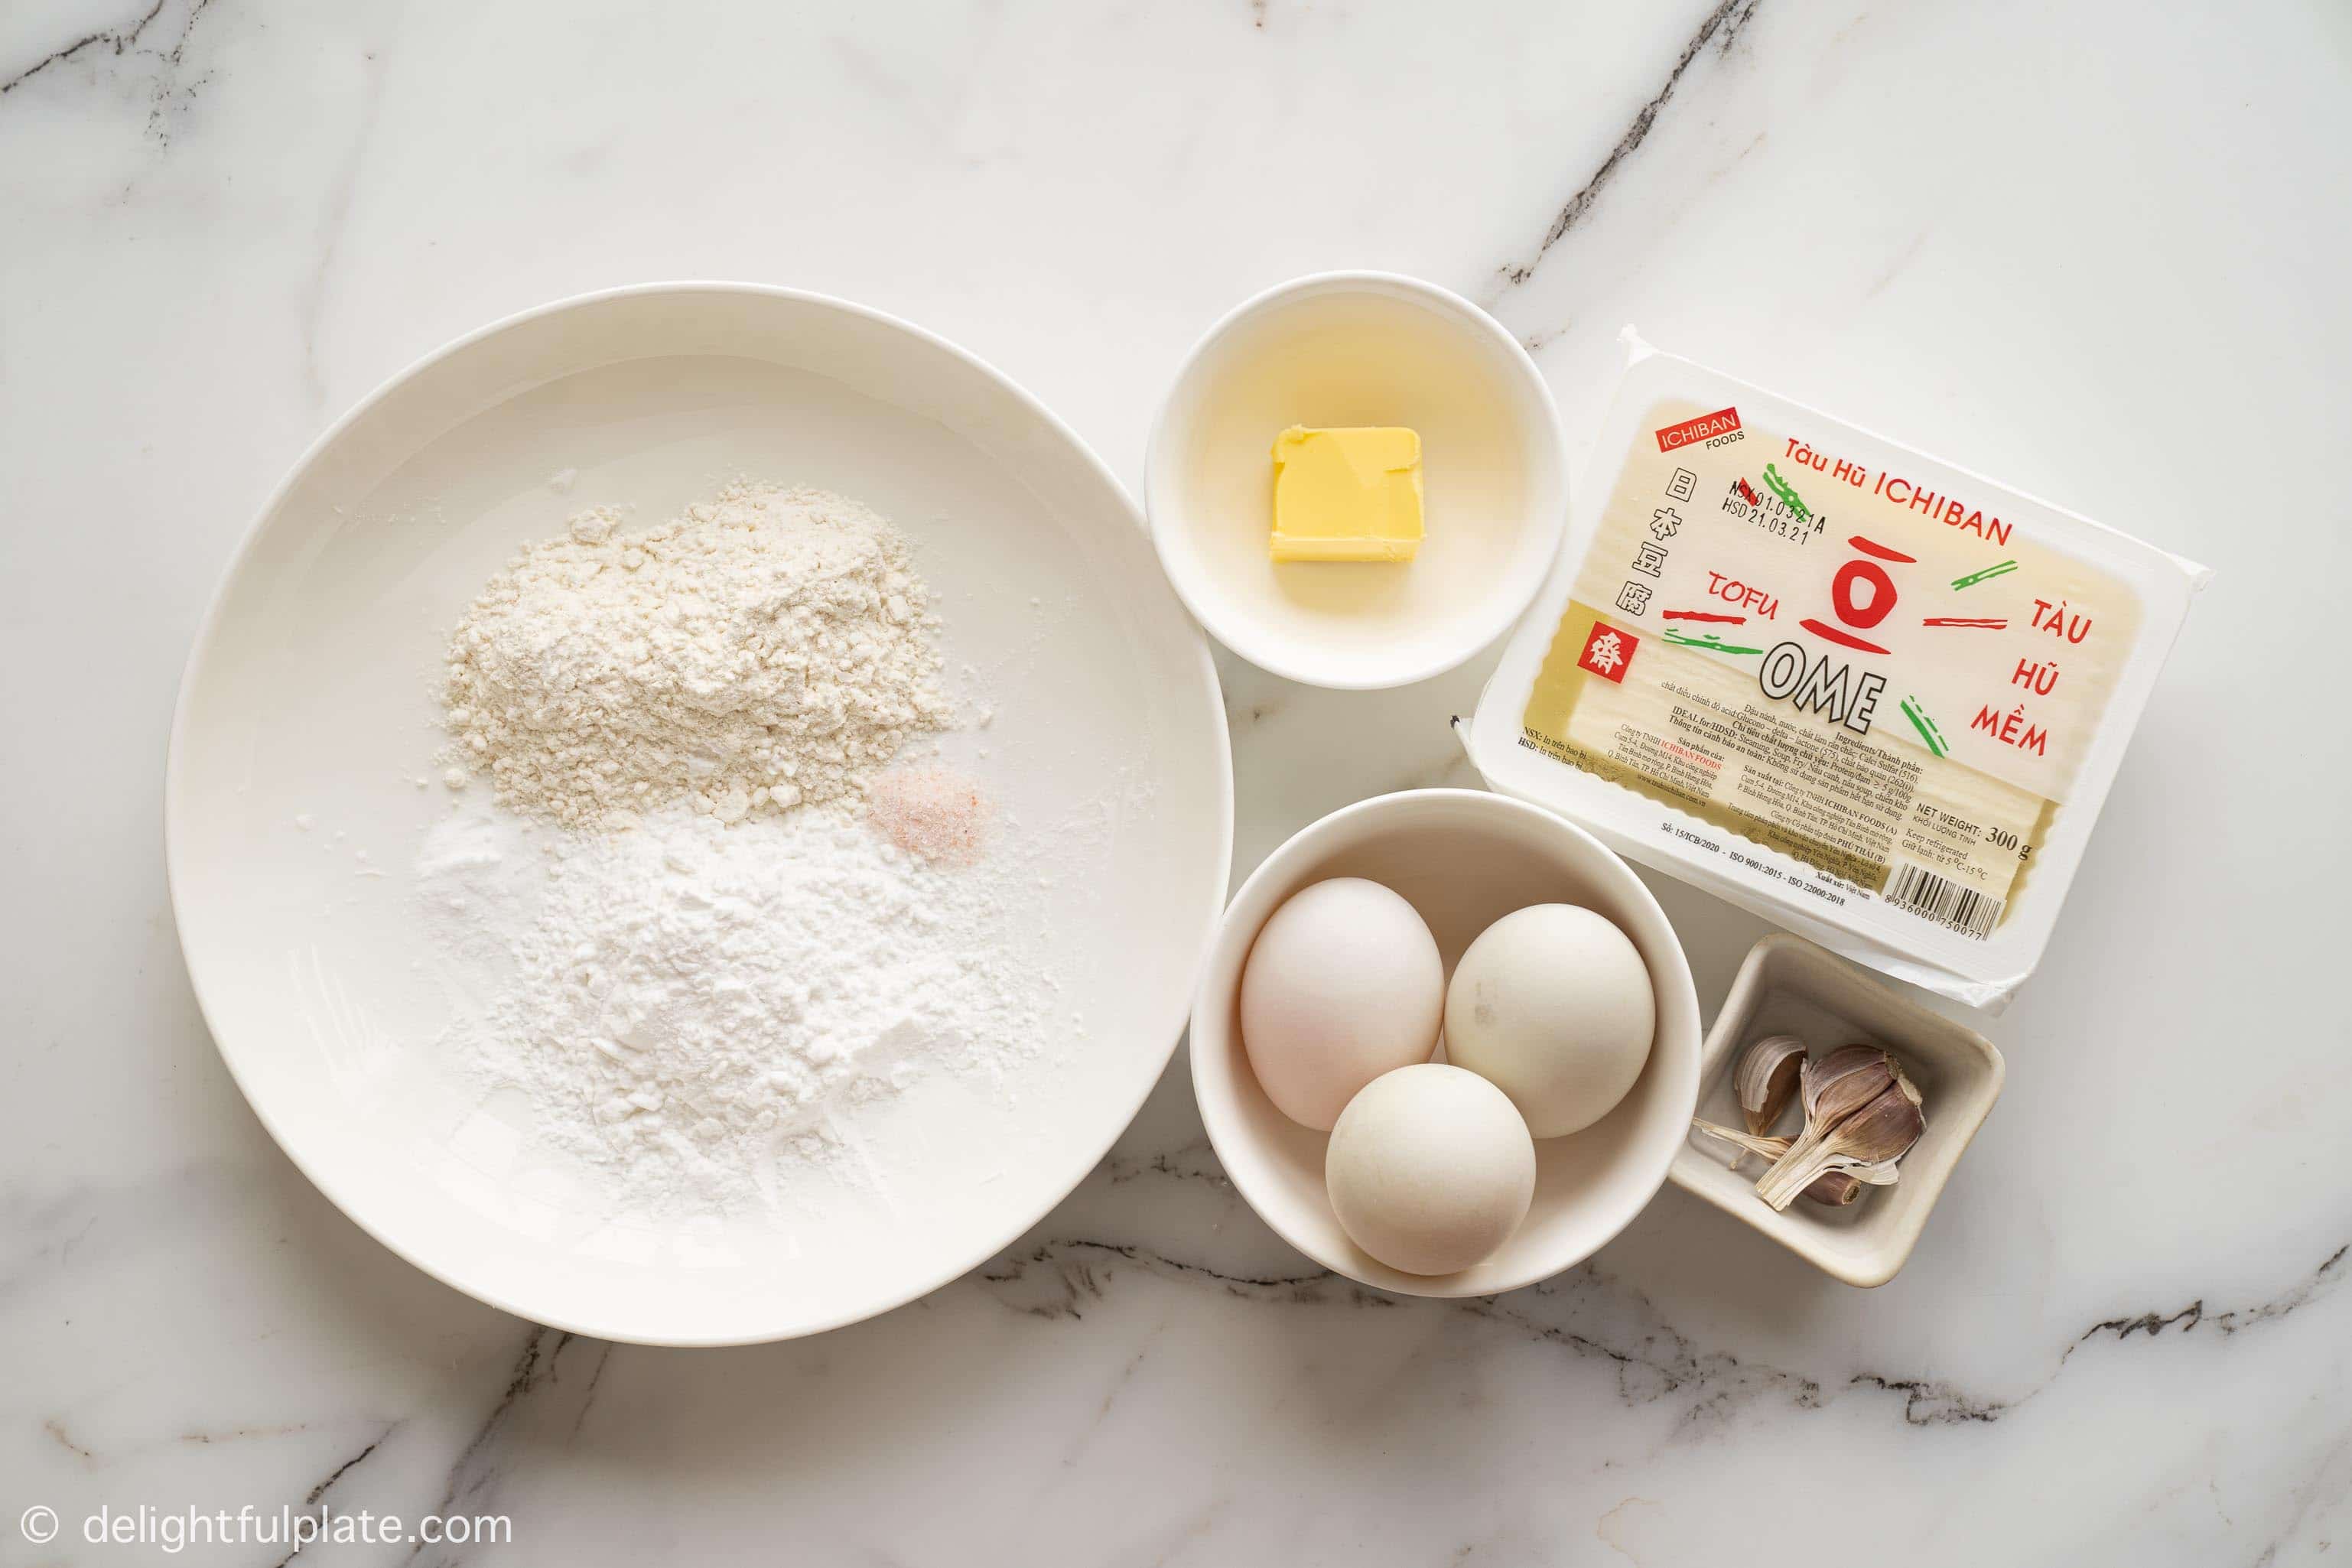
Since silken tofu is very delicate, we will need a flour mixture to coat the tofu for deep-frying. I use a mixture of potato starch, all-purpose flour and some baking powder. This mixture gives the tofu a nice shape after frying as well as a pleasantly crispy exterior with a nice golden color. When I use only potato starch, the color is very pale, and the outside is not as crispy as I want. You can buy potato starch at Asian grocery stores and in case you can’t find it, I think cornstarch is an acceptable substitute.
How to Make Silken Tofu with Salted Egg Sauce
The detailed list of ingredients and instructions are in the recipe card at the end of the post as usual. Here, I’m just describing the main steps with step-by-step photos to explain the cooking process.
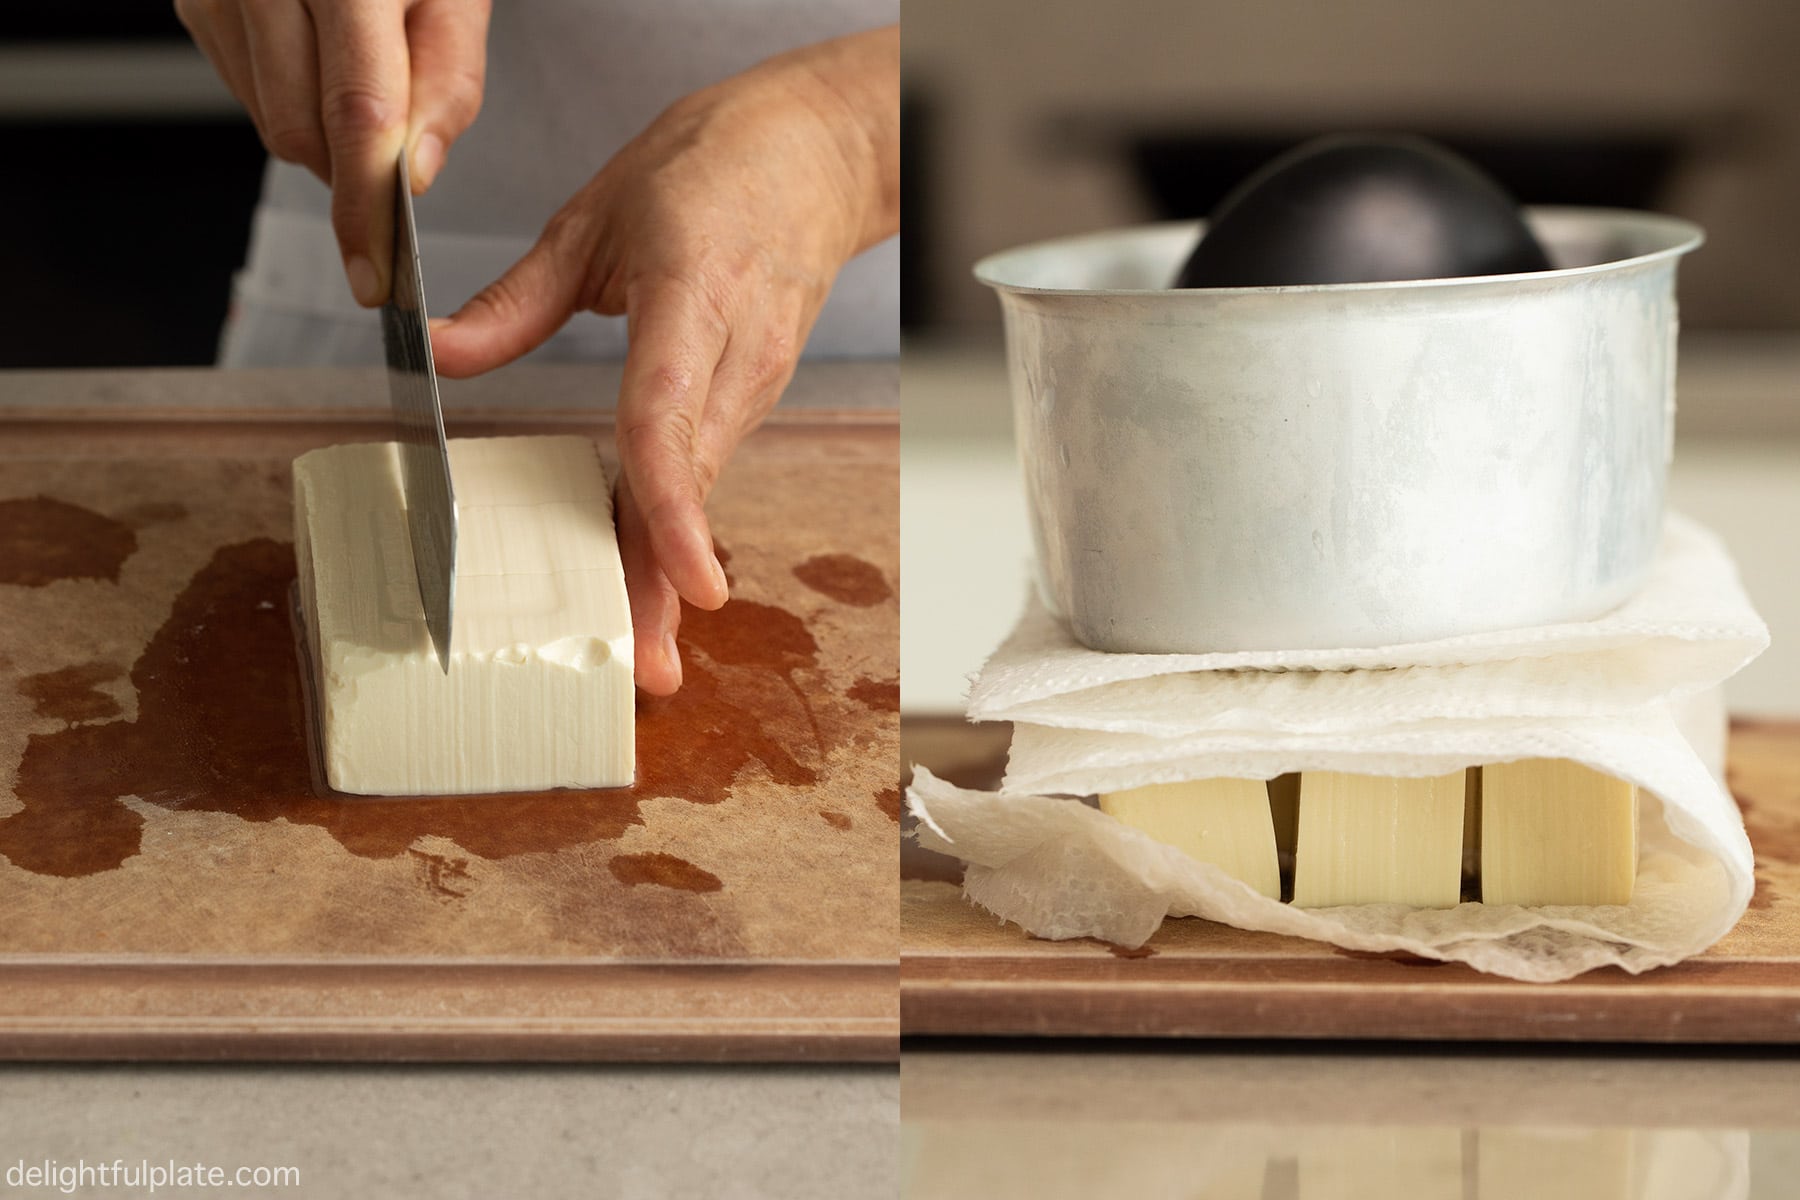
(1) Slice the tofu block into smaller pieces then wrap/place them in several layers of paper towel. Place a moderately heavy object on top to drain out excess water for about 15 minutes. This is a very important step because if you skip it, the tofu may release water when we fry it, and the exterior will not be crispy.
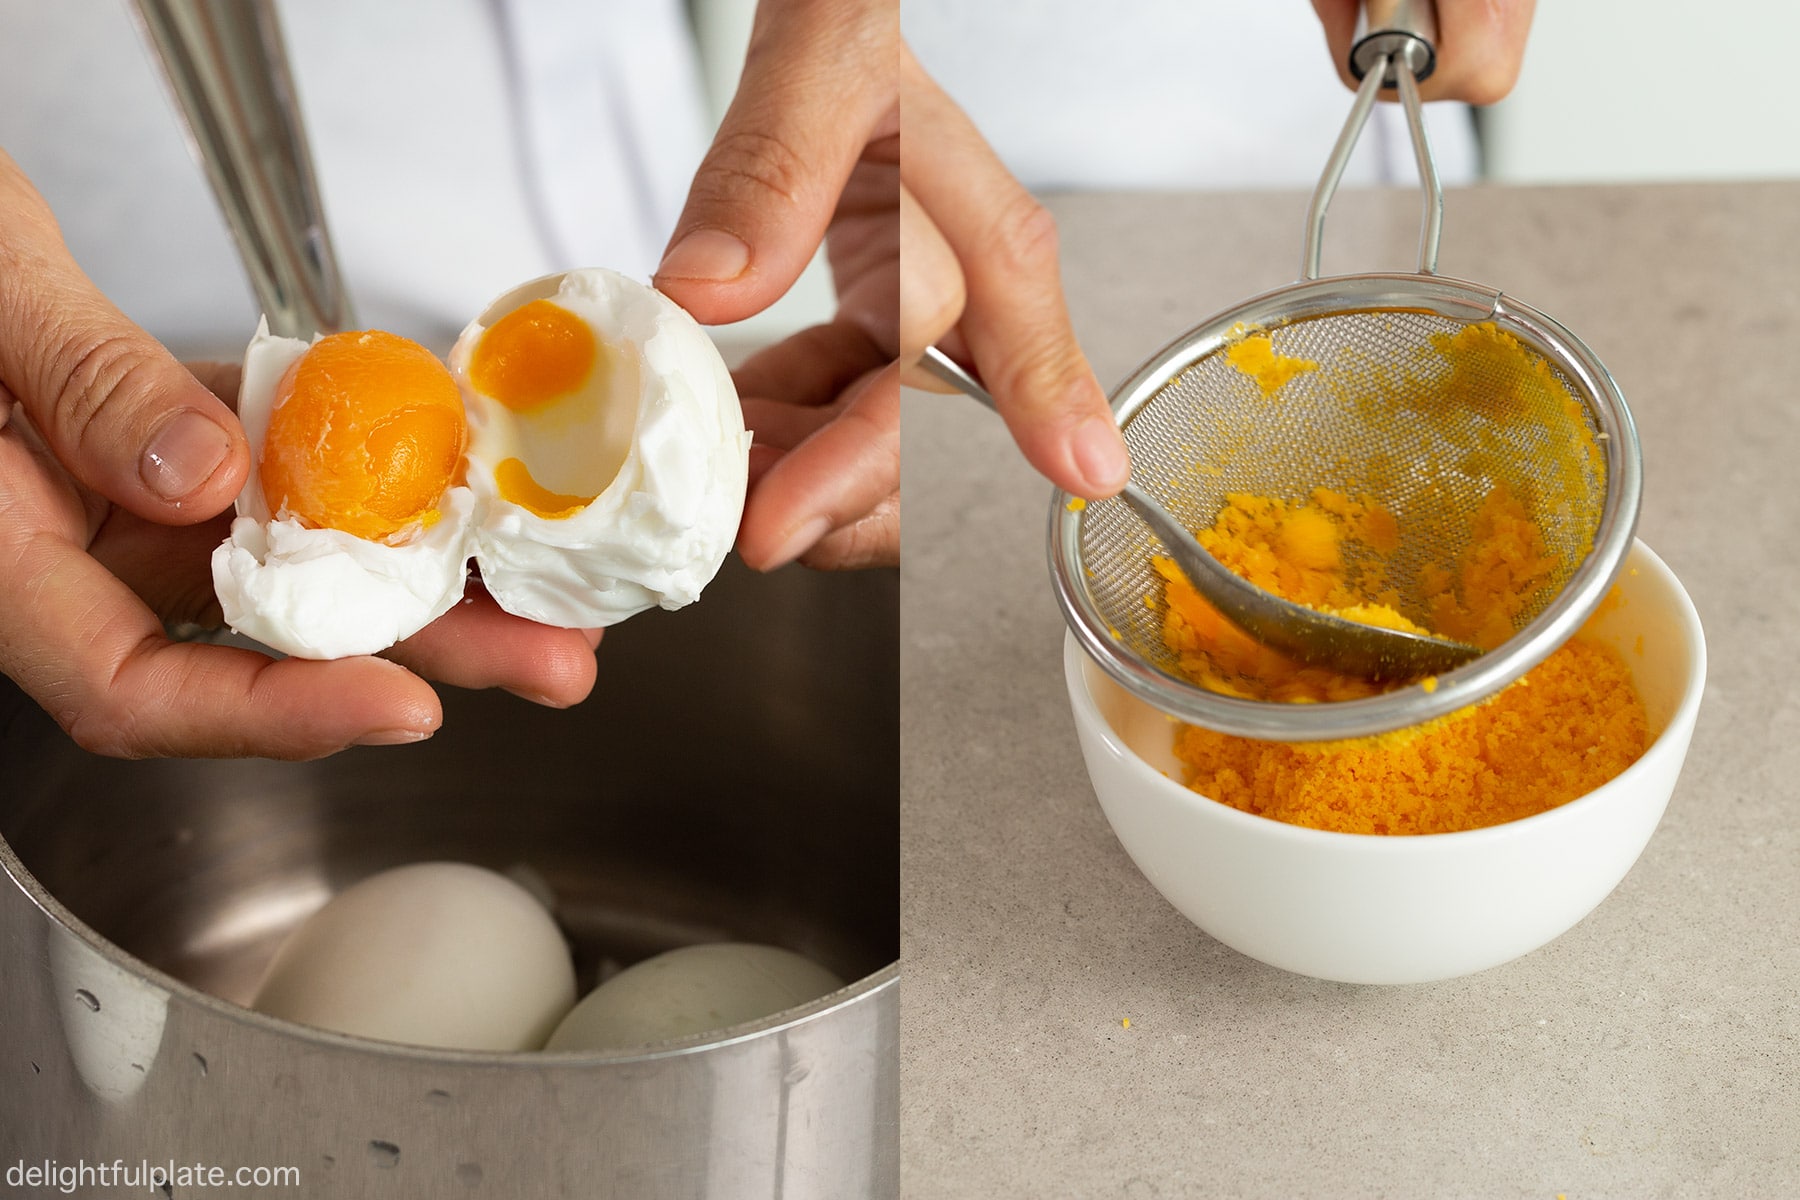
(2) Boil the salted duck eggs, then peel and discard the whites. Our salted egg sauce uses only the yolks. Use a fork to mash the yolks finely, or use a spoon and press them against a sieve (mesh strainer).
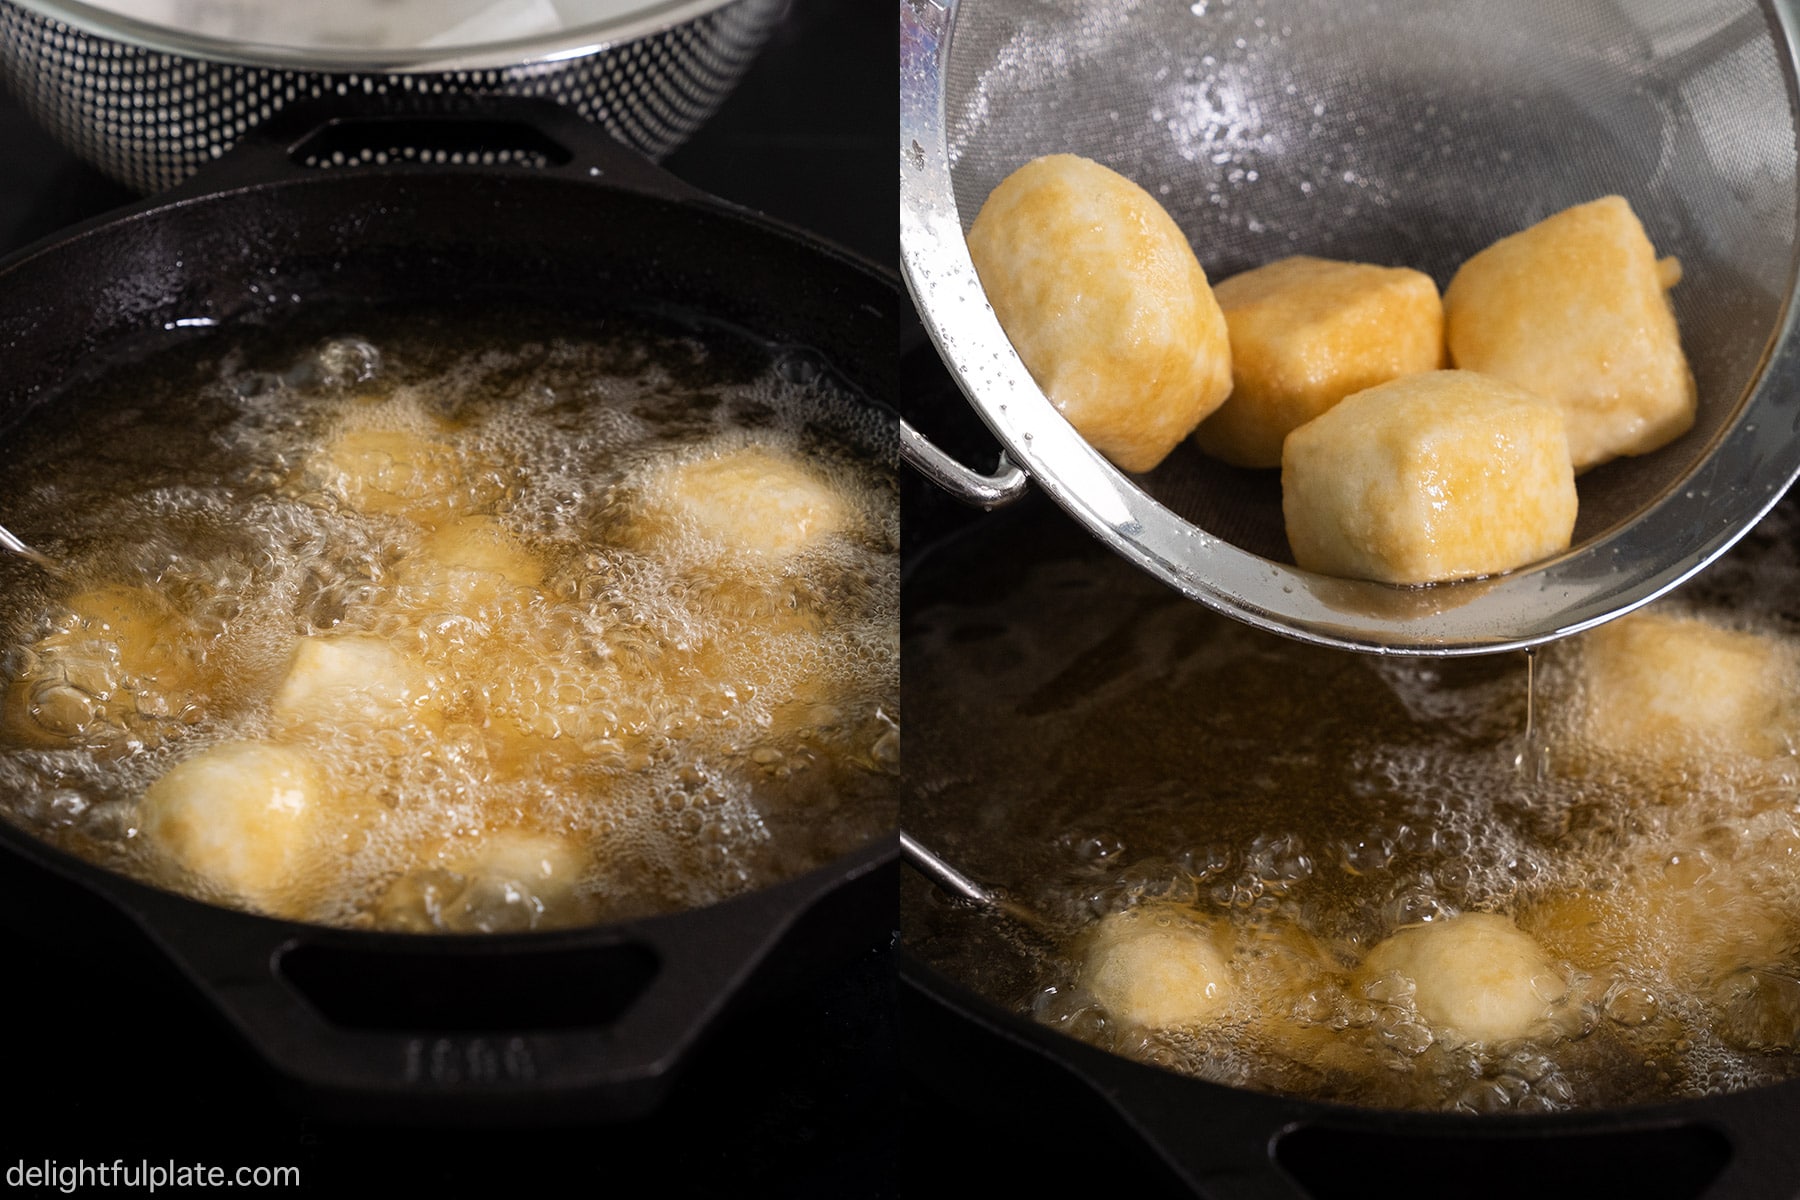
(3) Coat each tofu piece with the flour mixture and shake off excess flour. Deep fry until they turn light golden.
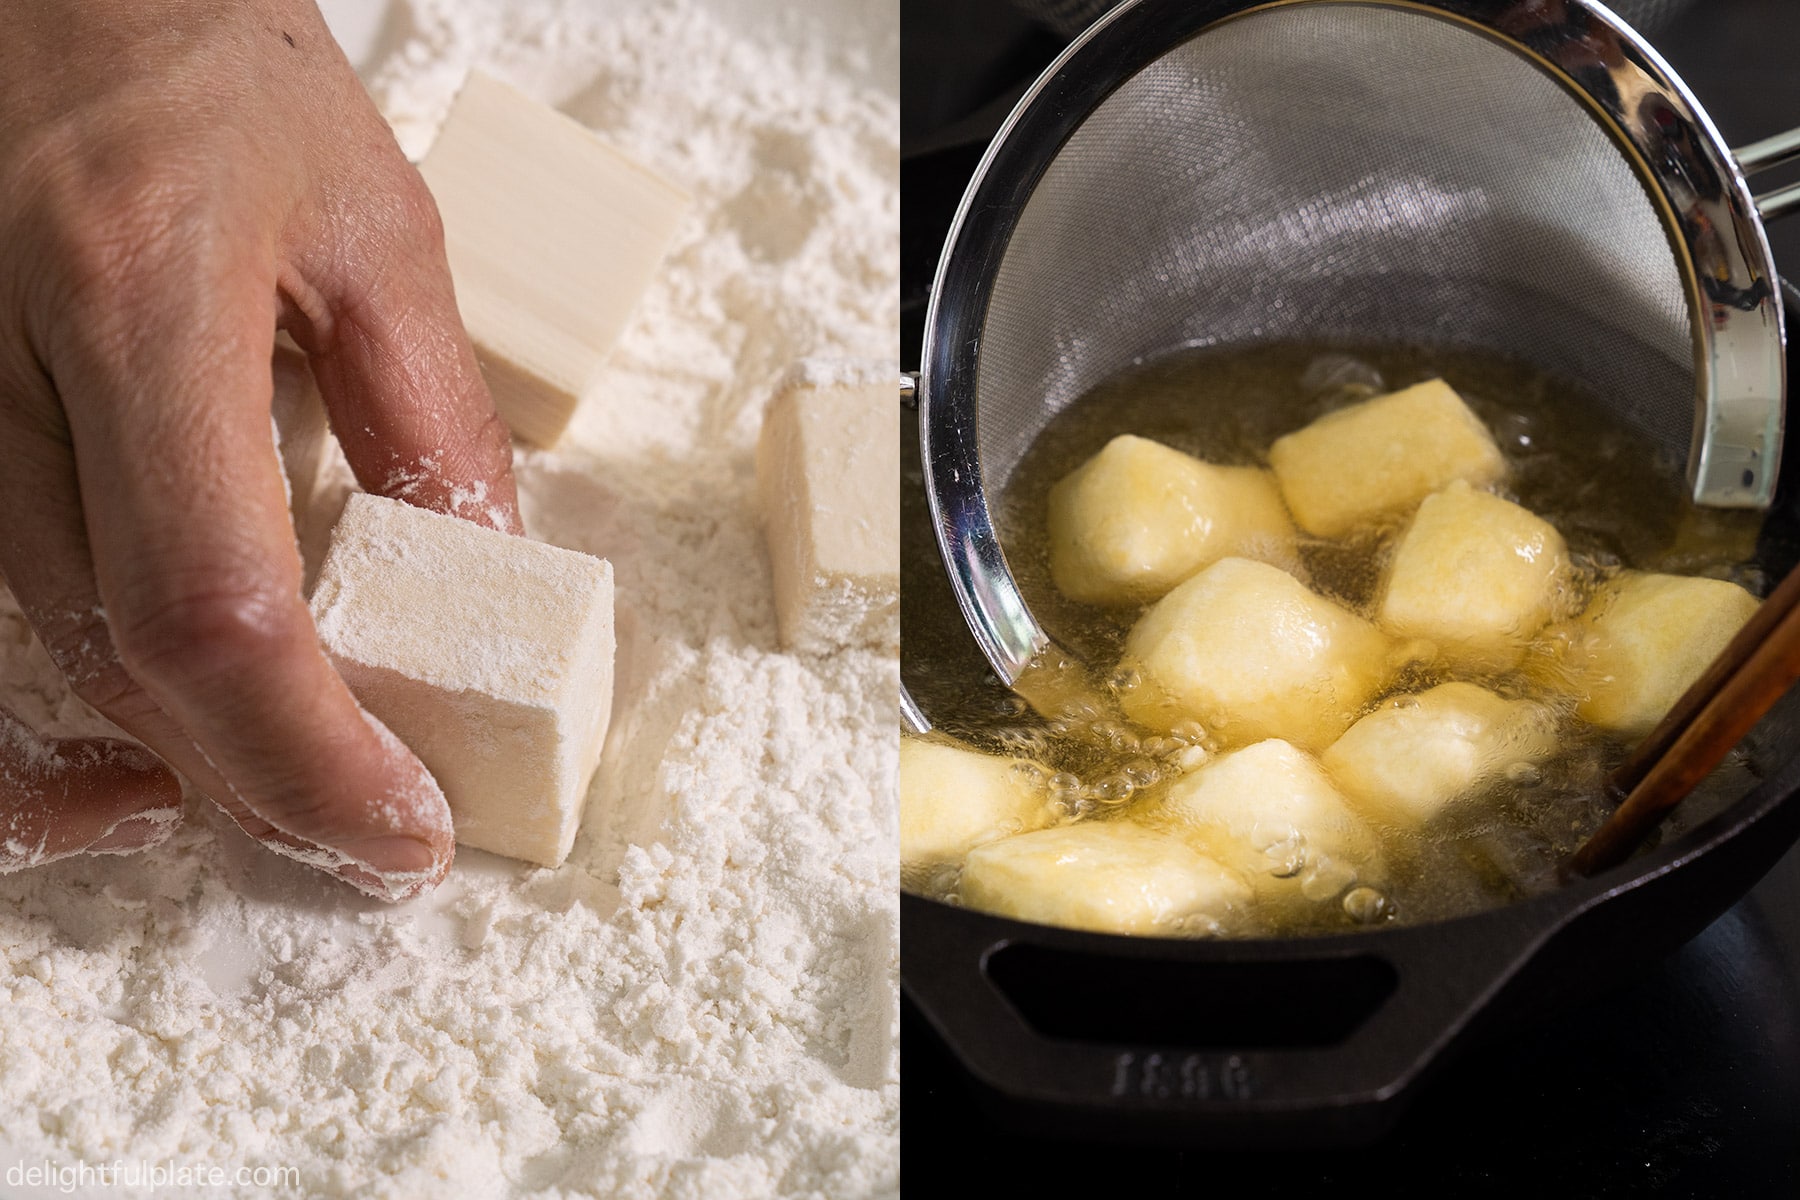
(4) Let the tofu cool slightly on a plate lined with paper towel or a wired rack and then fry the second time until golden and crispy. I like to fry twice so that the outside crisps up nicely and later it will not turn soggy quickly when we coat the tofu with the sauce.
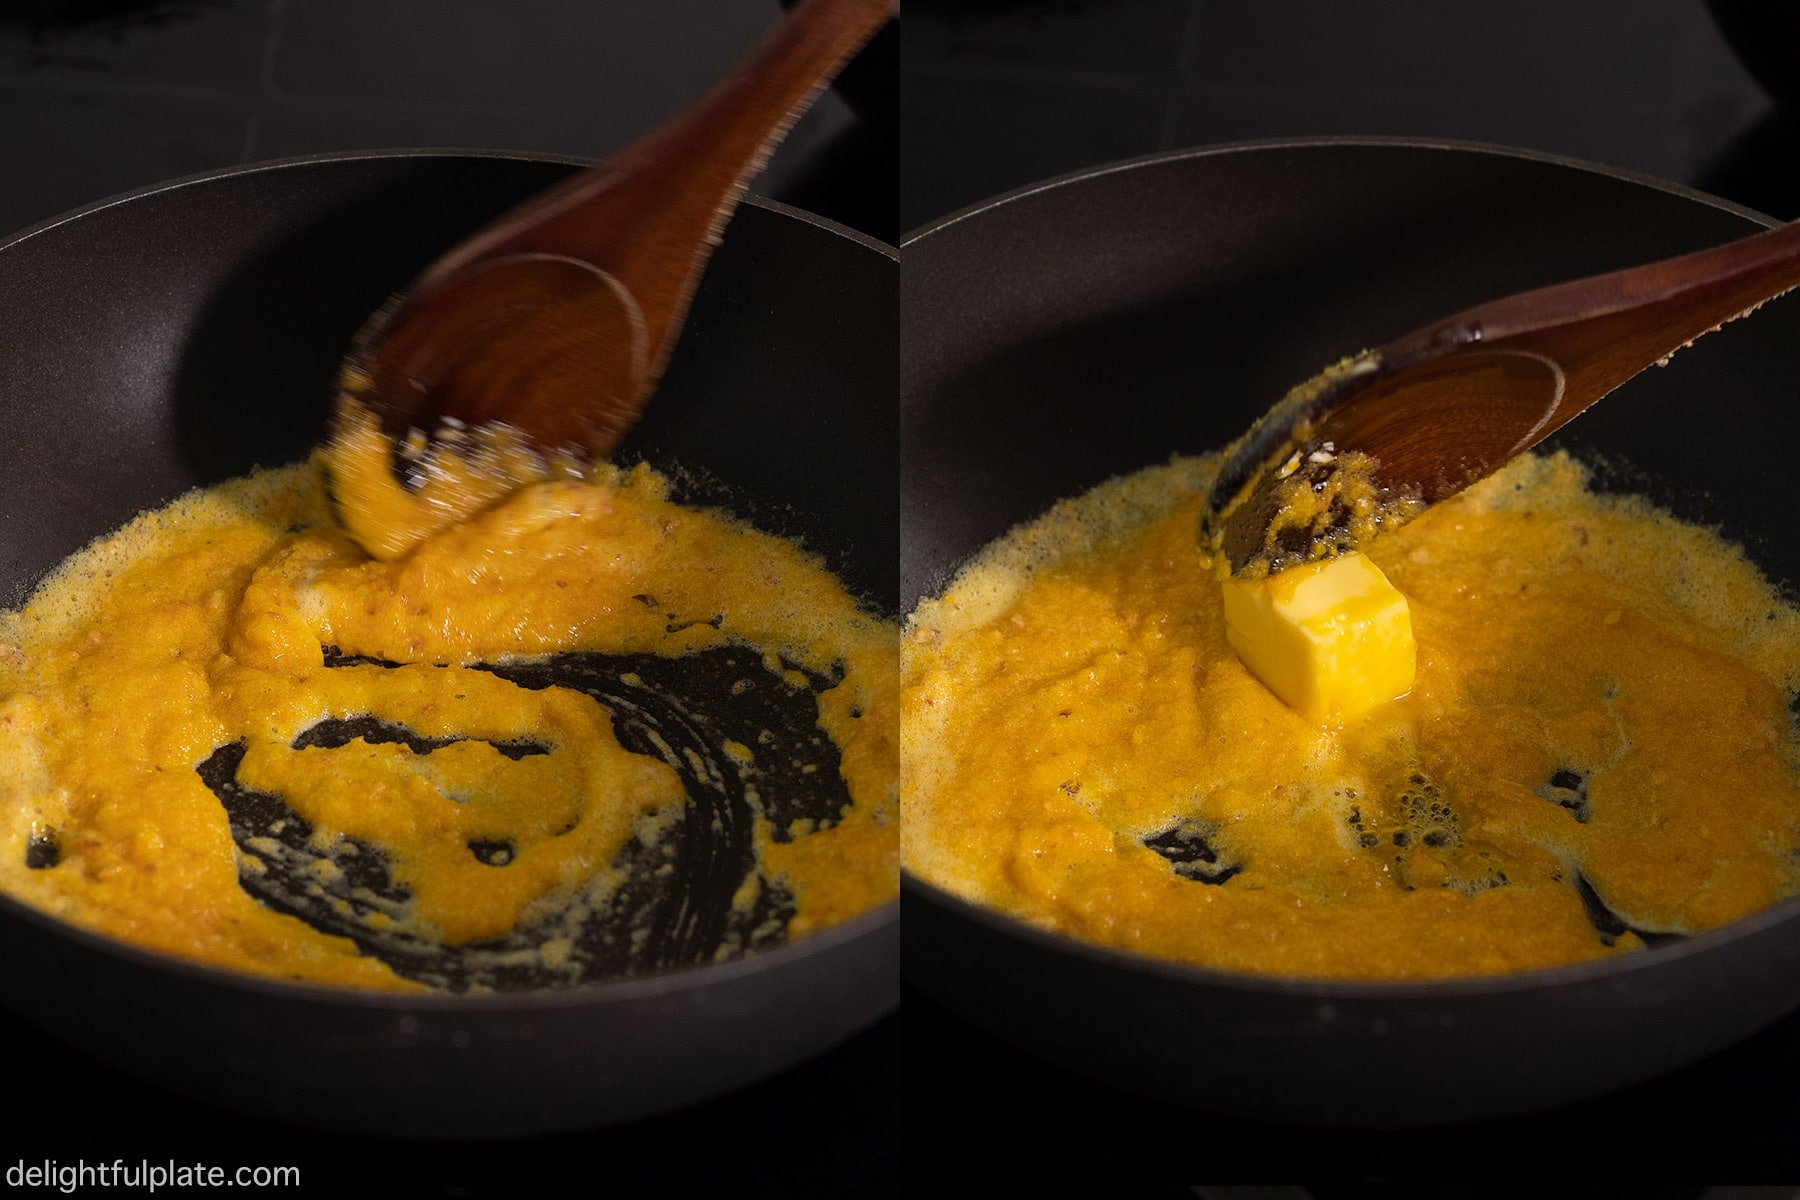
(5) This step is about how to make salted egg sauce. Sauté some minced garlic in oil until fragrant, then add the mashed salted yolk. Stir and break up the egg yolk pieces and let it absorb the oil. When it starts to look like a thick foamy sauce, add butter. Stir to melt the butter and form a creamy sauce. This step doesn’t take long, otherwise the sauce may separate.
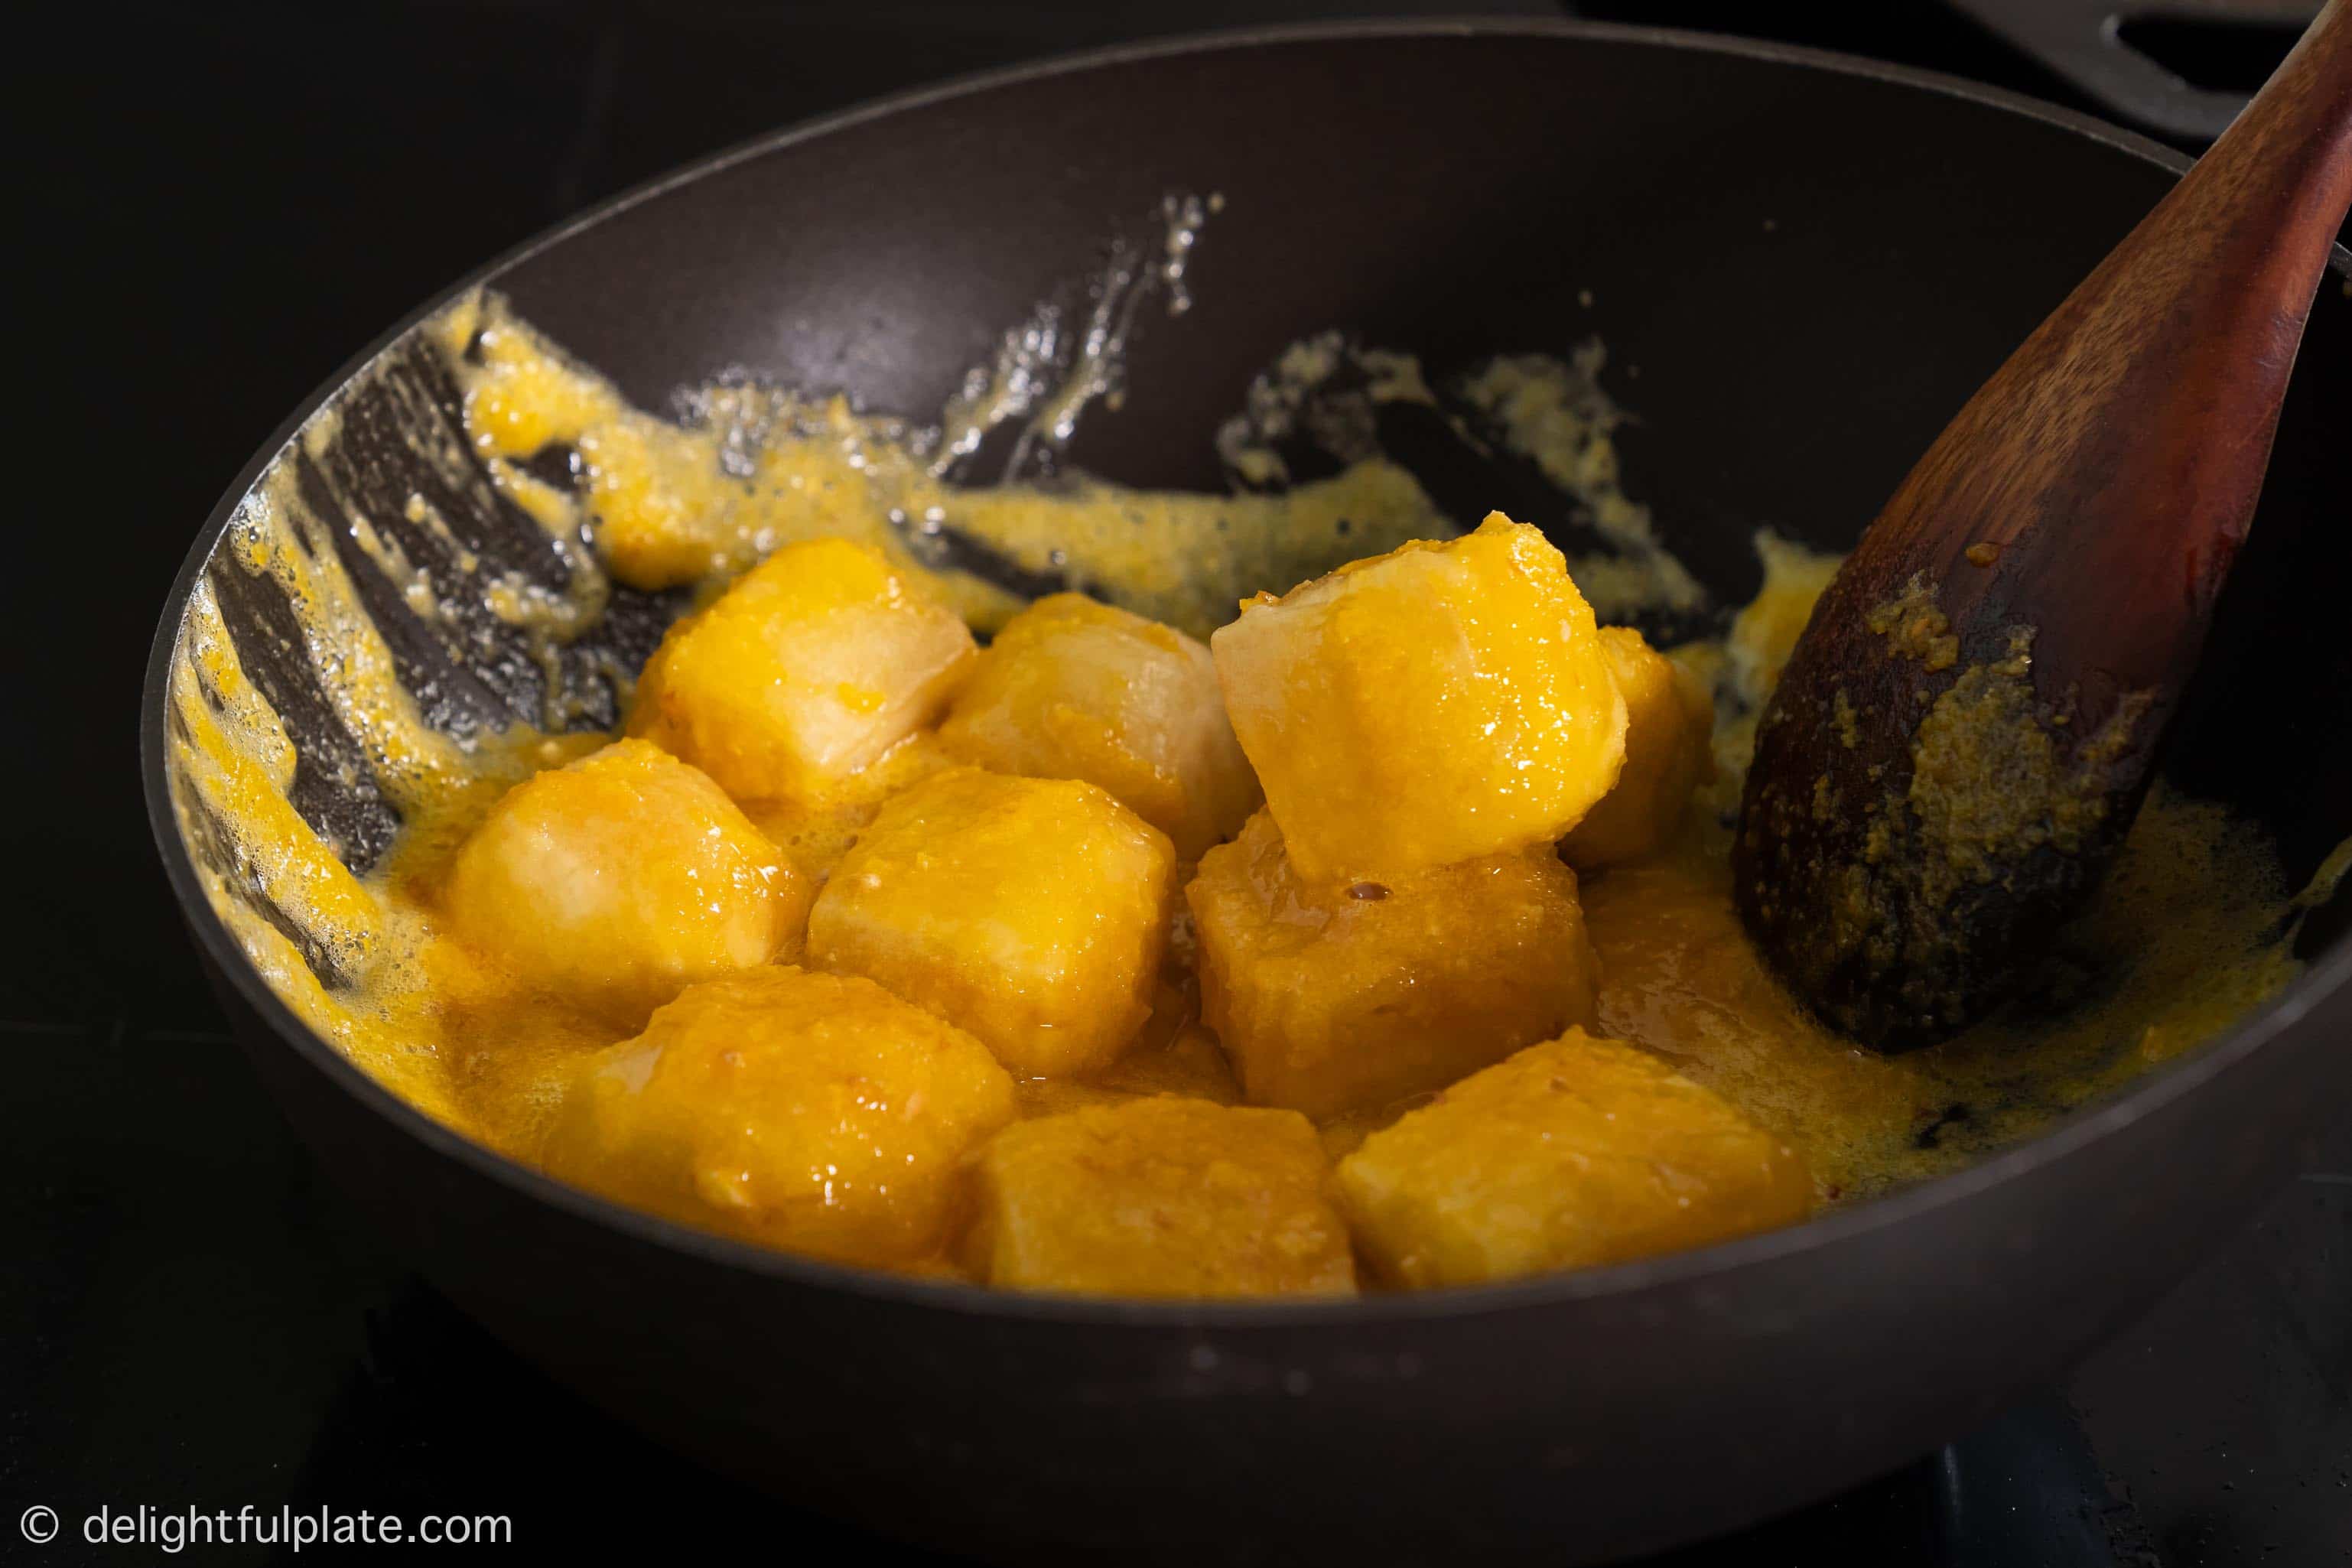
(6) Add the fried tofu pieces to the pan and quickly but gently shake the pan or use a wooden spoon to move the tofu pieces around and coat them with the sauce. Again, do this very quickly but gently to avoid breaking the tofu as well as drenching the tofu in the sauce for too long which can make it less crispy.
And now it’s time to serve! You can serve this silken tofu with salted egg sauce on its own as an appetizer or with rice as one of the main dishes. Below is the recipe card with the list of ingredients and measurements.
⭐️ I’d love to hear what you think about the dish, so please feel free to leave a comment and a rating if you have tried it. New recipes are added every week so let’s connect on Facebook, Youtube, Pinterest and Instagram for the latest updates. You can find my collection of Vietnamese recipes here.

Silken Tofu with Salted Egg Yolk Sauce
Ingredients
- 10.5-14 oz silken tofu
- 3 salted duck eggs
- 1/4 cup potato starch
- 1/4 cup all purpose flour
- 1/4 teaspoon baking powder
- 1/2 teaspoon salt, divided
- cooking oil
- 1/2 tablespoon minced garlic
- 1 1/2 tablespoons butter
Instructions
- Slice the tofu block into smaller pieces about 1-inch thick, then wrap/place them in several layers of paper towel. Place a moderately heavy object on top to drain out excess water for about 15 minutes. Be careful, if the object is too heavy, it may break the tofu.
- While draining out water from the tofu, place the salted duck eggs in a small pot and cover with water. Bring it to a boil and then slightly reduce the heat and boil for another 10 minutes.
- Rinse the eggs under cold water, then peel and discard the whites. Use a fork to mash the salted egg yolks finely, or use a spoon and press them against a sieve (mesh strainer).
- In a shallow plate, mix together potato starch, all purpose flour, baking powder and ¼ teaspoon of salt. Heat a generous amount of oil to 300-320ºF (150-160ºC) in a deep fryer or medium saucepan. Pat dry and then coat each tofu piece with the flour mixture, shaking off excess flour and immediately deep fry for about 3 minutes until they turn lightly golden.
- Remove the tofu and let cool slightly on a plate lined with paper towel or a wired rack. After a few minutes, bring the oil to 355ºF (180ºC) and deep fry the tofu the second time. This time, fry for about 1-1½ minutes until the tofu is golden and crispy. Remove the tofu to a plate lined with paper towel or a wired rack.
- Heat a deep pan over medium heat (I recommend doing this after the first fry in Step 4, while waiting for a few minutes before frying the second time in Step 5). Add some oil and once the oil is hot, add minced garlic and sauté for a few seconds until fragrant. Add the mashed salted egg yolk and ¼ teaspoon of salt (to taste). Stir and break up the egg yolk pieces and let it absorb the oil. When it starts to look like a thick foamy sauce, adjust the heat to low and add butter. Stir to melt the butter and form a creamy sauce. This shouldn't take long, otherwise, the sauce may separate.
- Immediately add the fried tofu pieces to the pan and quickly but gently shake the pan or use a wooden spoon to move the tofu pieces around and coat them with the sauce. Transfer to a serving plate and serve right away.




Do you have a video for this recipe?
SILKEN TOFU WITH SALTED EGG SAUCE
Hi Mariani,
Sorry I don’t have a video for this recipe right now. This recipe is quite tricky to take photos and record videos at the same time while cooking, so I plan to make a video for it later. Meanwhile, please let me know if there’s any step that is unclear to you.