Failproof Fried Dough Sticks (Quẩy/Youtiao)
These fried dough sticks (Quẩy/Youtiao) are crispy on the outside and light and fluffy on the inside. Learn the foolproof method to make them at home (it’s easier than you may think). No baking ammonia is needed!
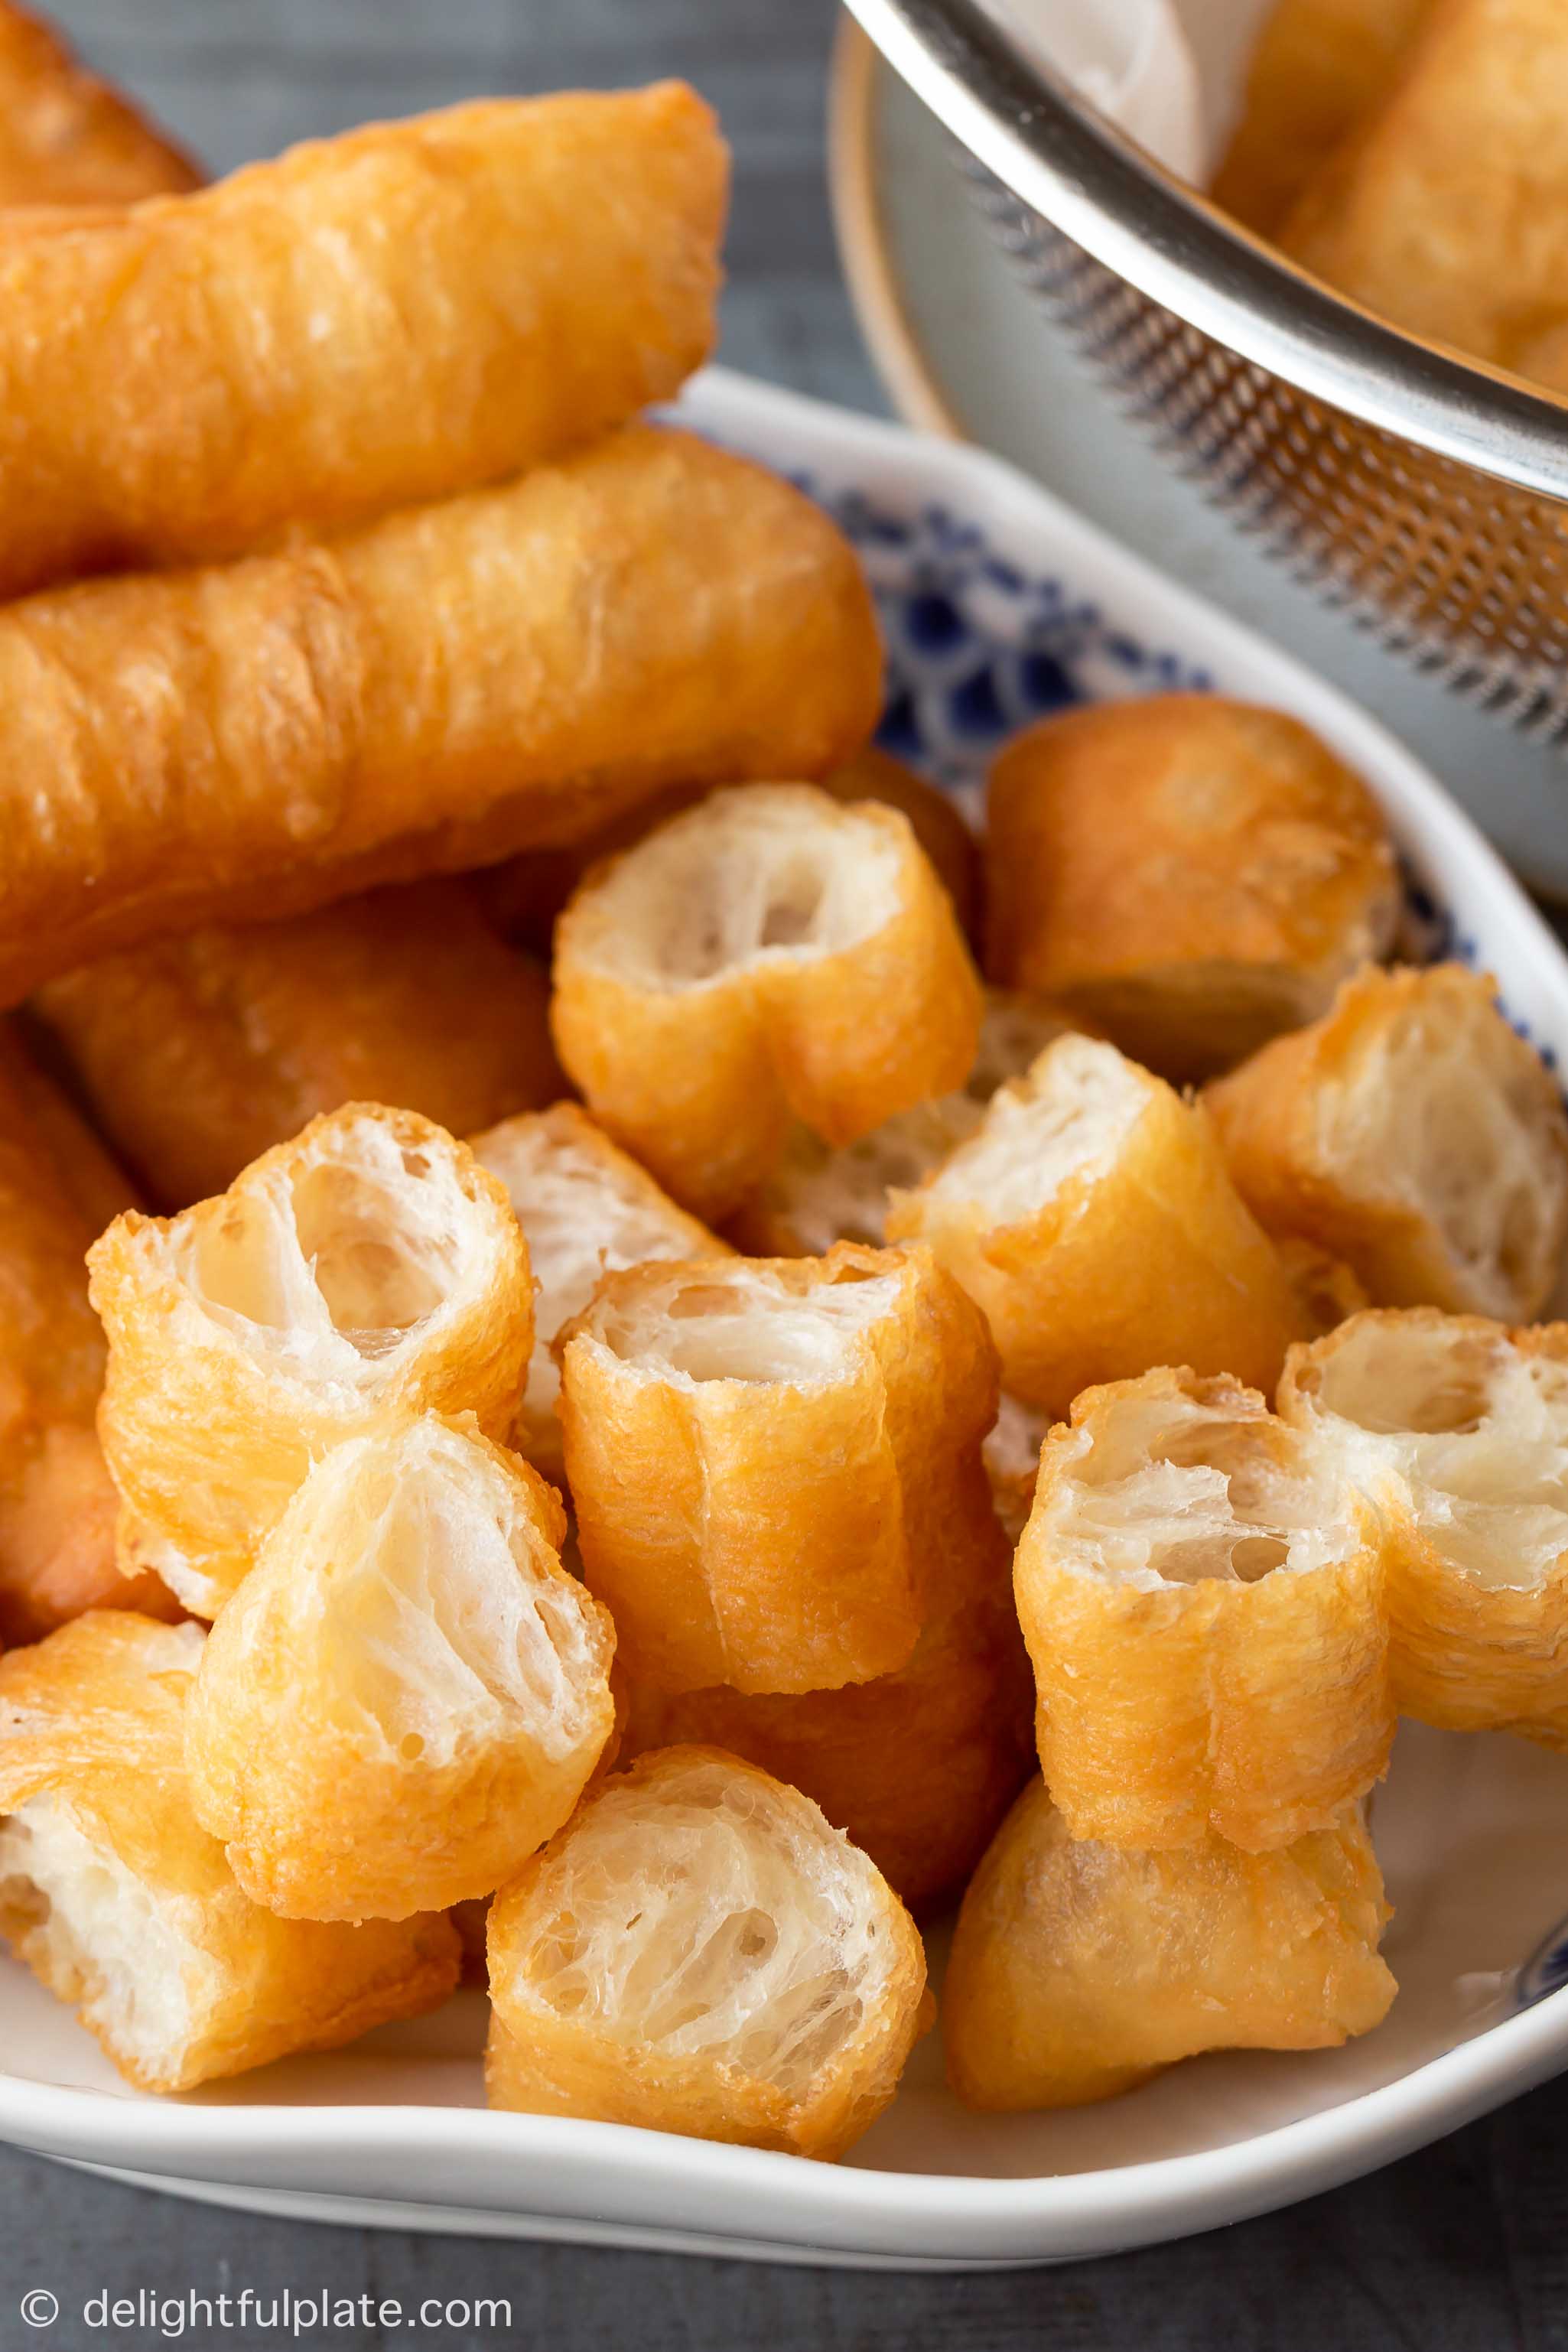
What Are These Fried Dough Sticks?
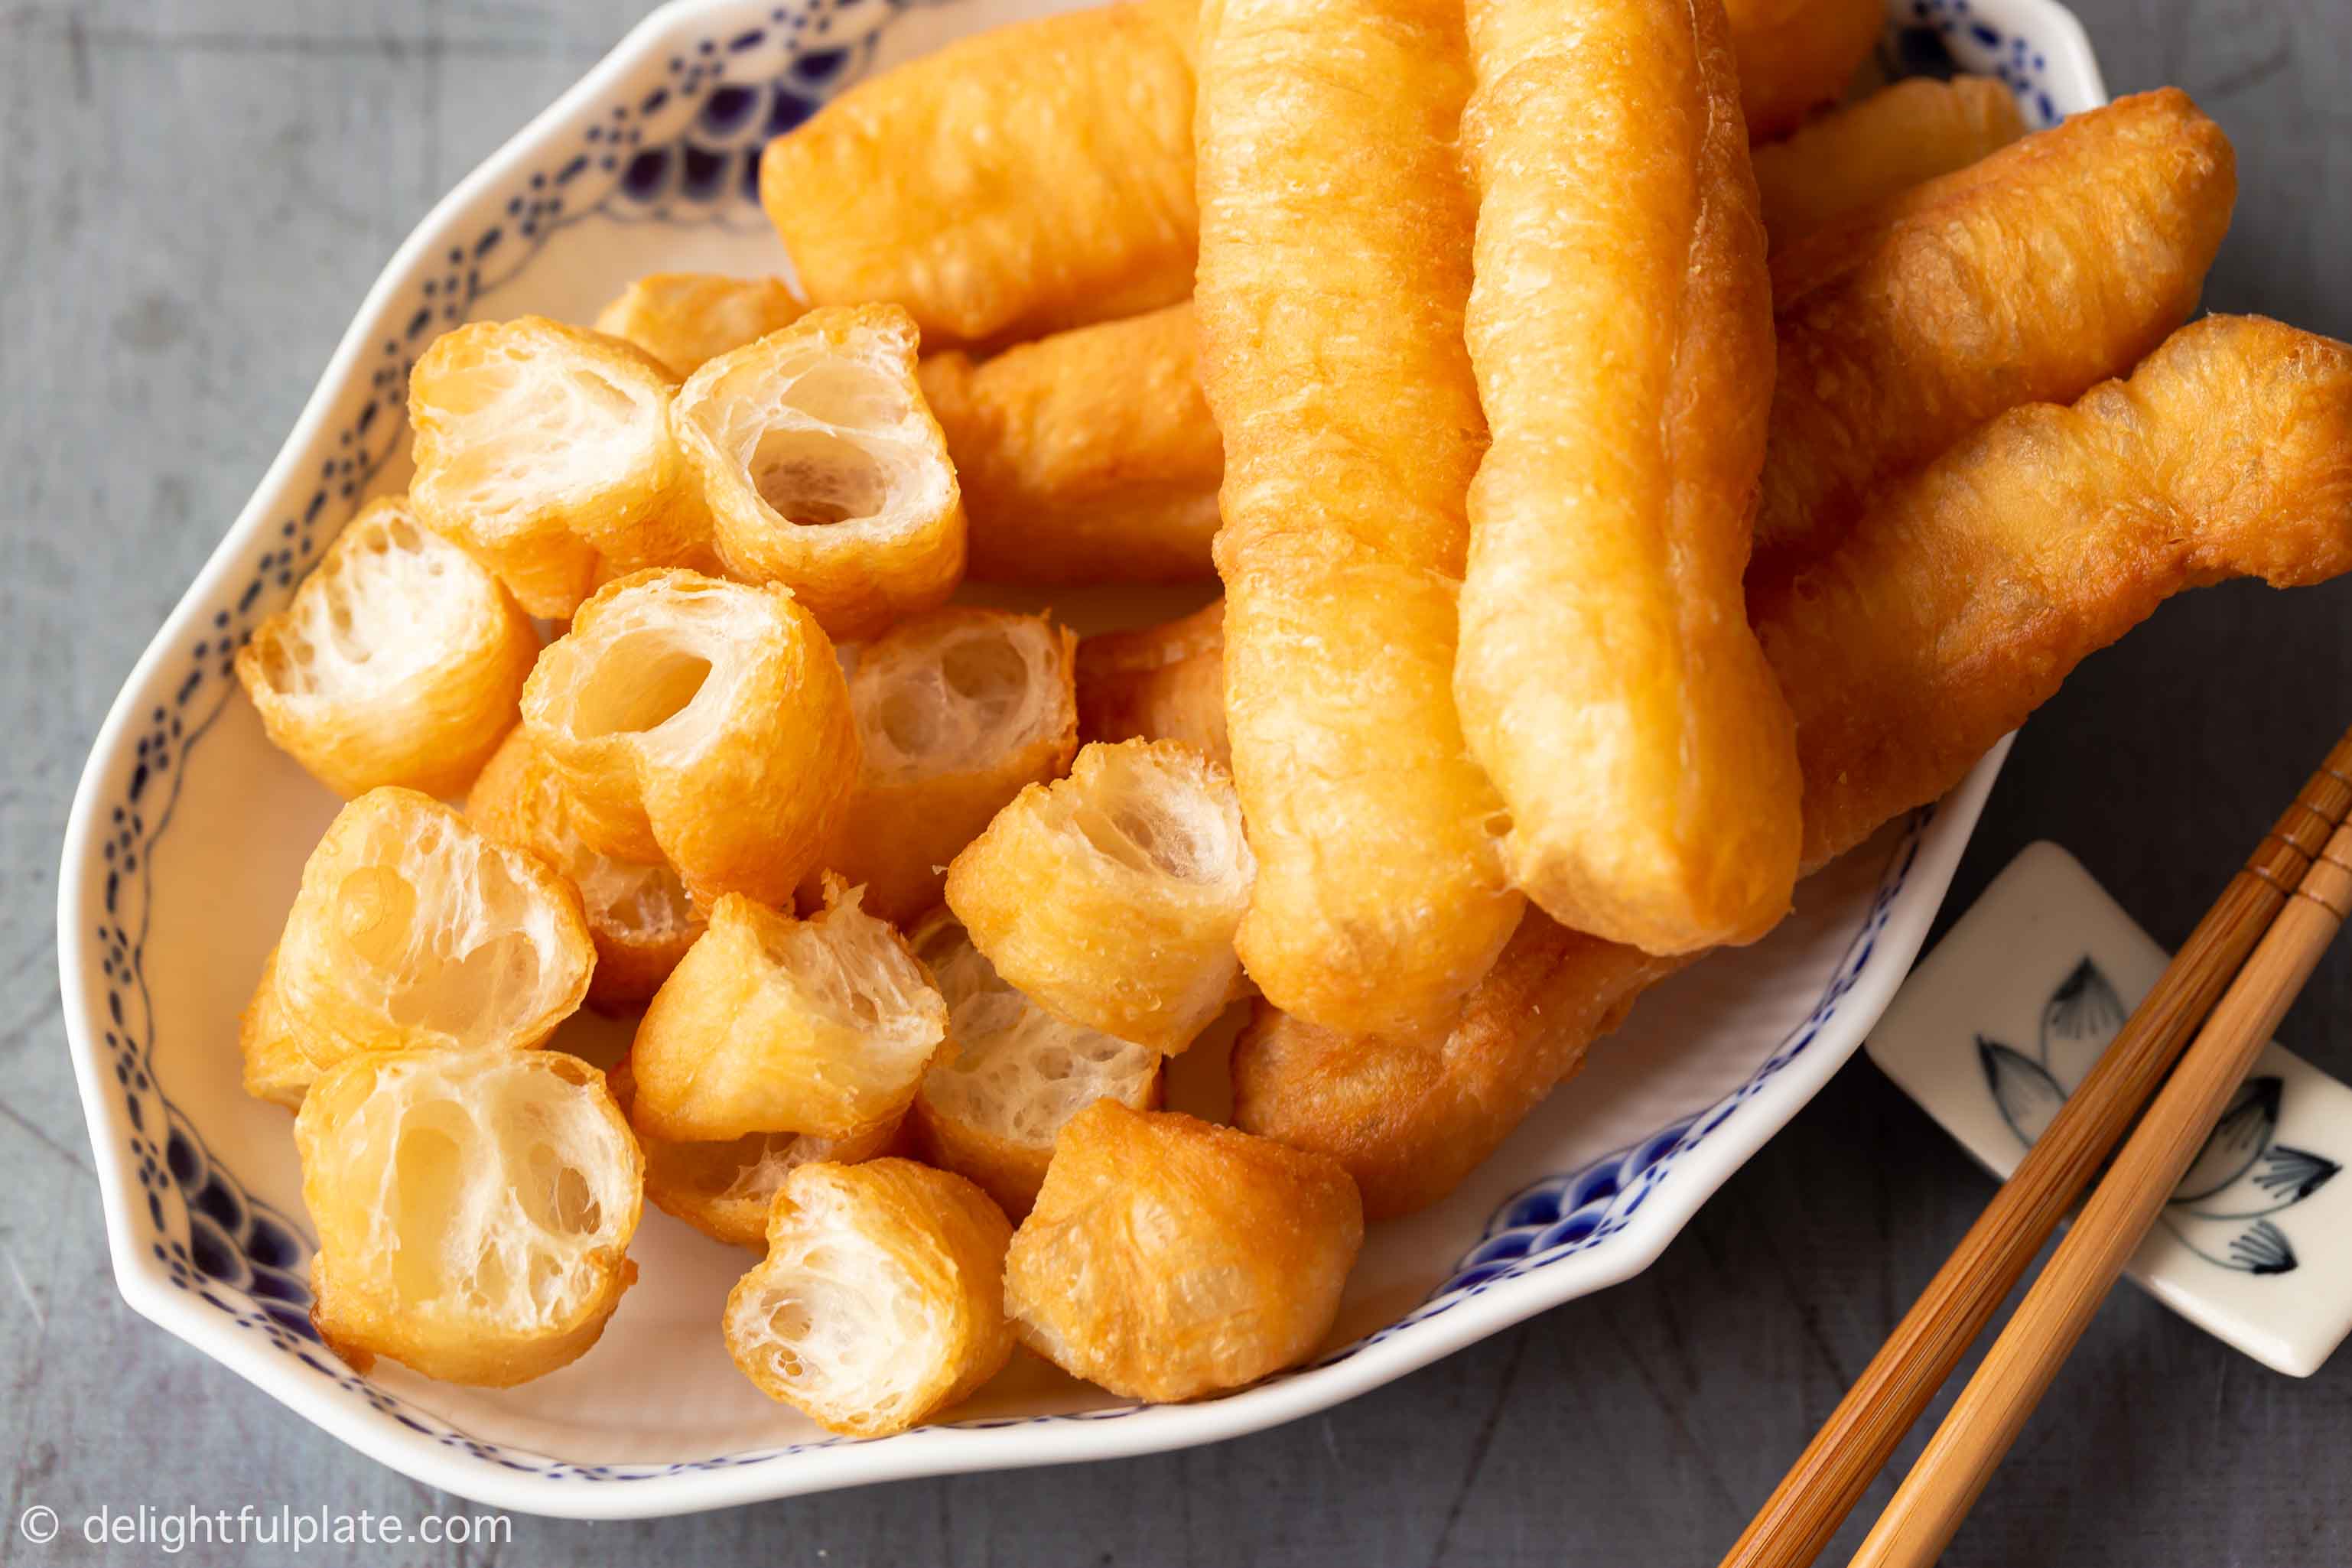
Fried dough sticks (also called crullers) are popular in a lot of Asian cuisines, including Chinese and Vietnamese cuisine. In Vietnam, we call them quẩy (or sometimes “giò cháo quẩy” in the South). We eat them on their own as snacks besides using them as toppings for pho noodle soups or congees. In Chinese cuisine, youtiao can be enjoyed with soy milk.
They are simply strips of dough fried until golden. The outside is crispy and the inside is light and fluffy, which makes these dough sticks addictive. It is best to watch my video showing how to make crullers before reading the recipe.
Watch the Video
Use High Protein Flour
Since quẩy is basically fried dough, we obviously need to use flour. We have done a lot of testing with all kinds of flour, and find that the best type of flour to use in this recipe is bread flour. Bread flour has high protein content and produces more gluten, giving us the desired textures for youtiao (crispy crusty exterior, stretchy and fluffy interior).
If you can’t find bread flour, I recommend using all purpose flour with highest protein content you can find. For example, I believe King Arthur all purpose flour has higher protein content than Gold Medal brand.
Leavener
To have a light and fluffy interior, we will also need to use leaveners. Traditionally, these fried doughsticks are often made with baking ammonia but it is not easy to find and has a strong smell. Good news: we don’t need it here.
We have experimented with baking soda, baking powder and instant yeast. The best result comes from using a combination of baking powder and instant yeast.
I wasn’t really impressed with using baking soda since it seemed to leave a stronger smell and made the colors darker than what I would like. And without yeast, the interior isn’t airy and fluffy enough. I strongly recommend using red SAF instant yeast.
Other Ingredients
Some youtiao recipes use eggs, but I prefer my fried dough sticks without eggs. Adding eggs make them taste a bit closer to pastry in my opinion. The interior will be slightly denser with a mildly richer flavor. So the other ingredients required in my recipe are just salt, sugar, oil and warm water.
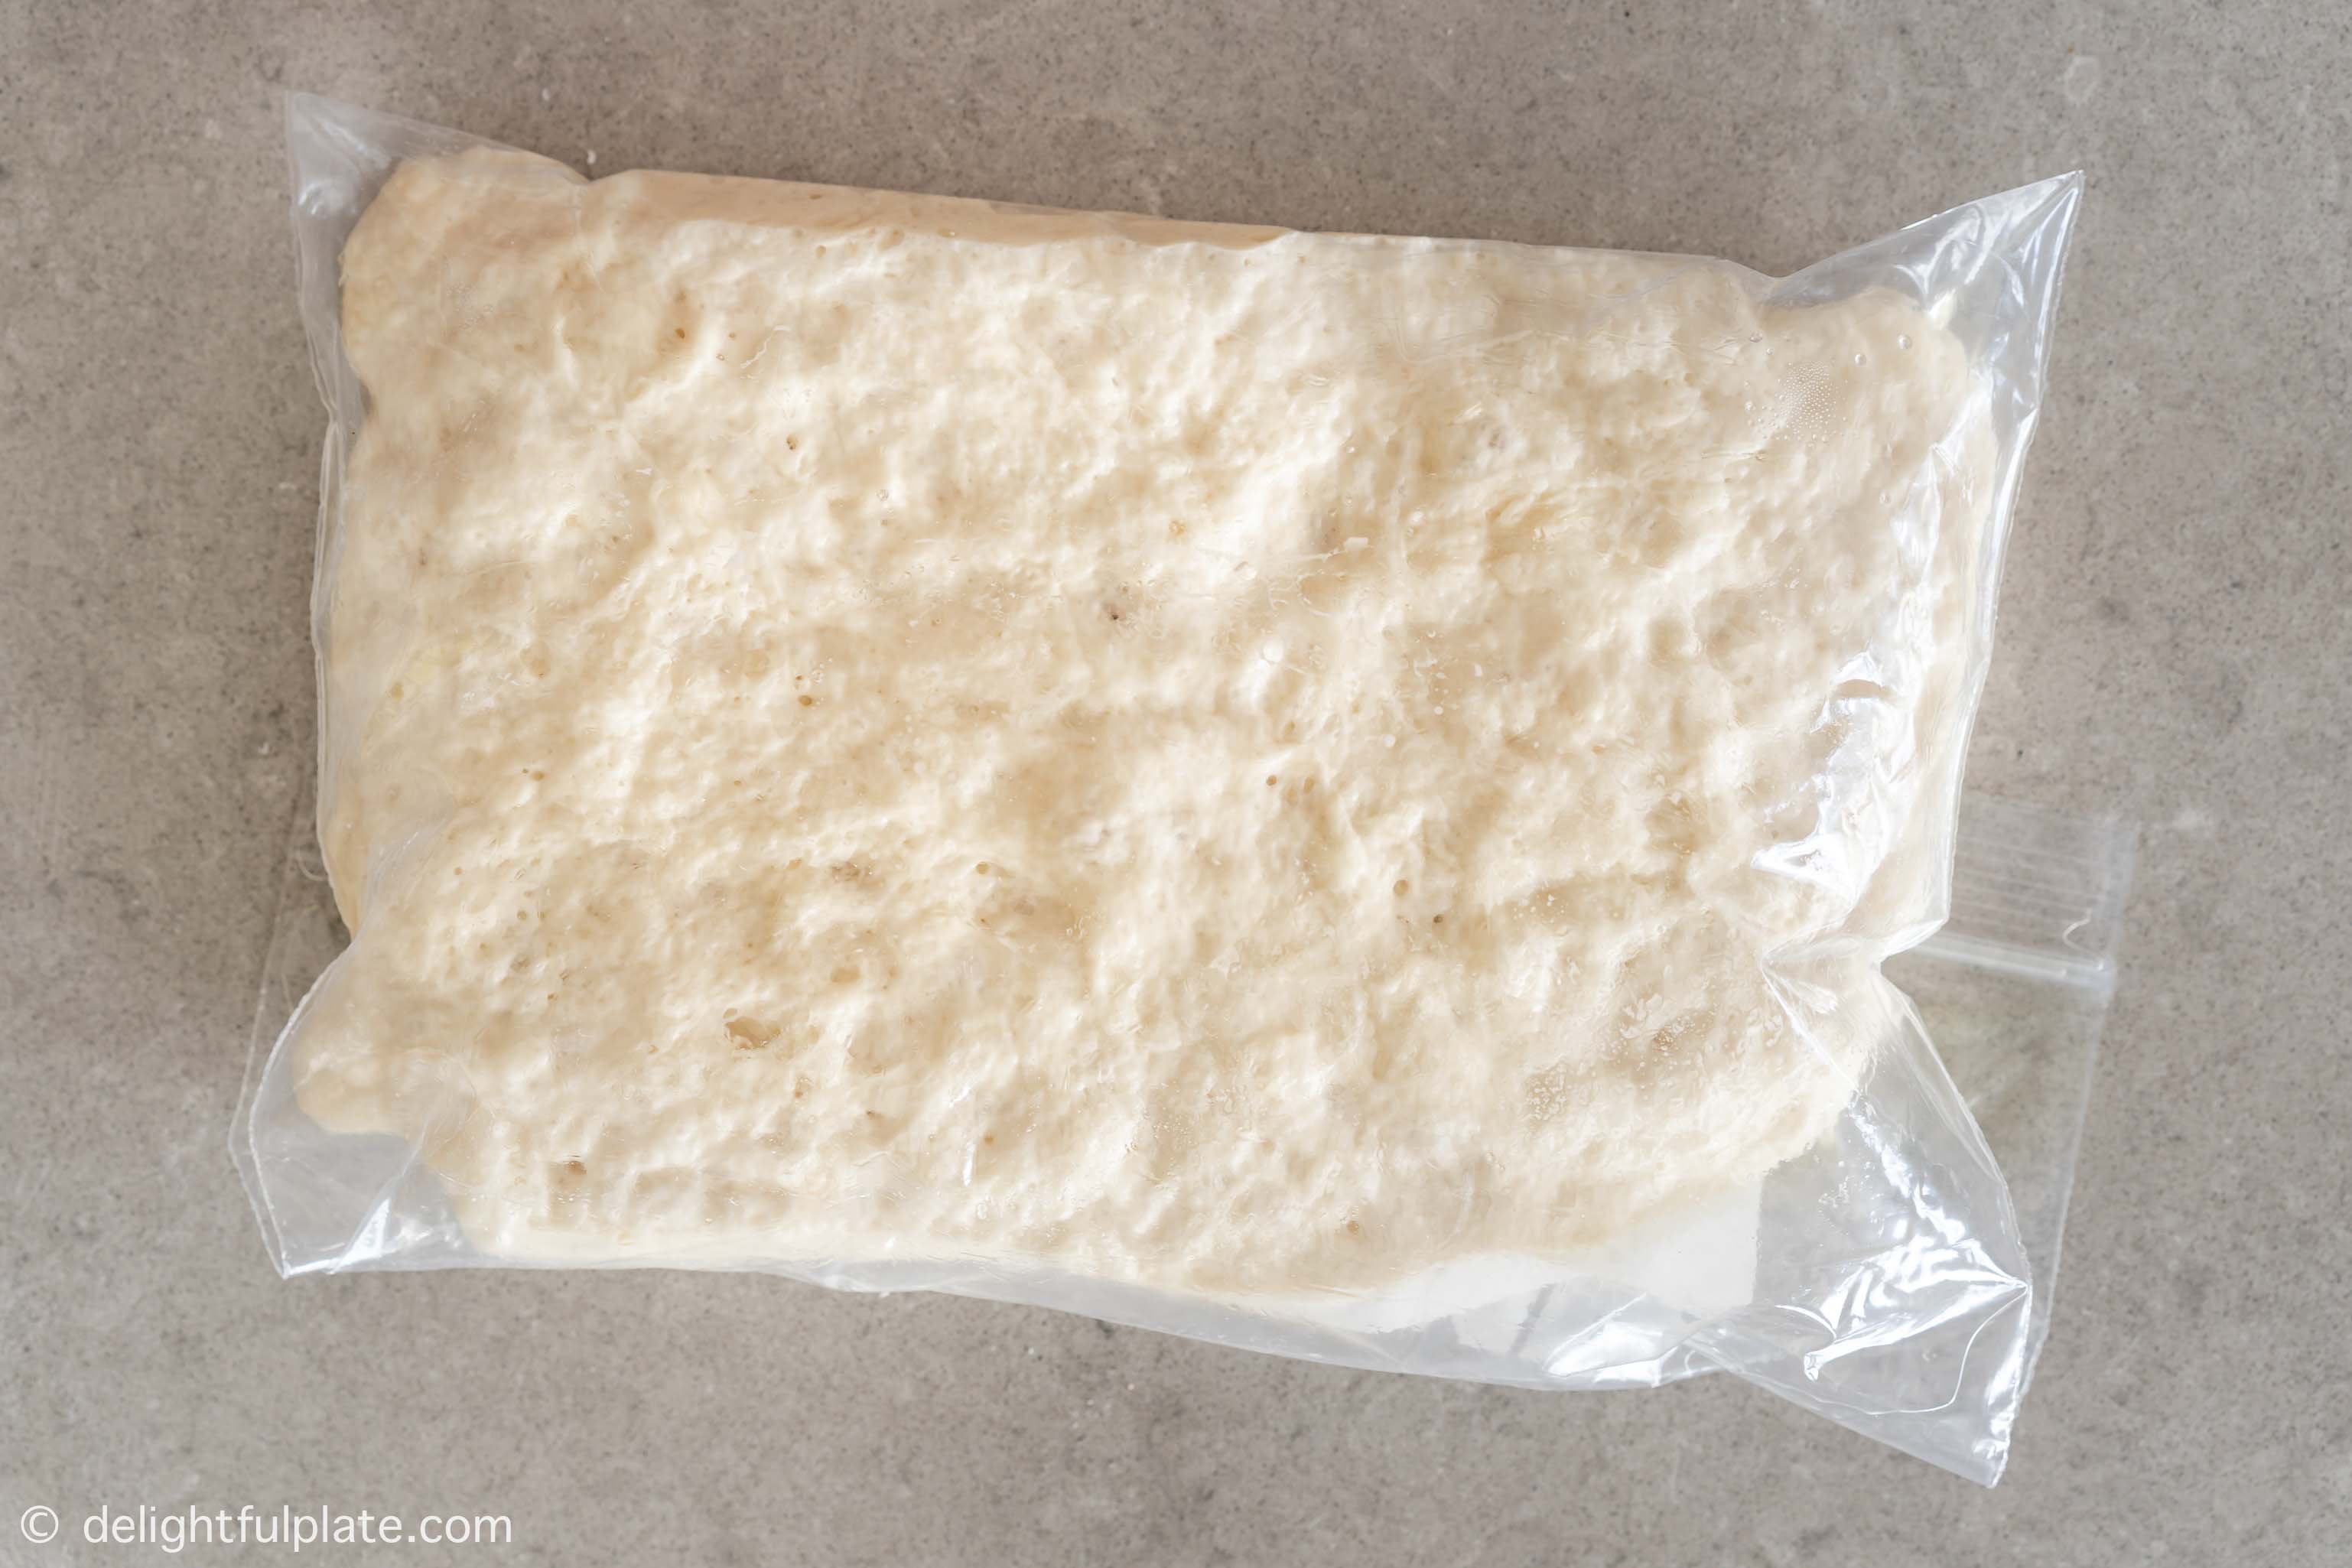
All ingredients will be mixed together with a spatula or a wooden spoon into a dough. Then let the dough rest in the refrigerator for 12-24 hours (or at least overnight). Yes, it does require some planning but you can make ahead and freeze them (which we will discuss later).
How to Make Youtiao/Quẩy at Home
Prepare the dough the day before. The next day, take the dough out, cut and shape into dough sticks. I’m including step-by-step photos below but it is much easier to understand once you have watched my video above.
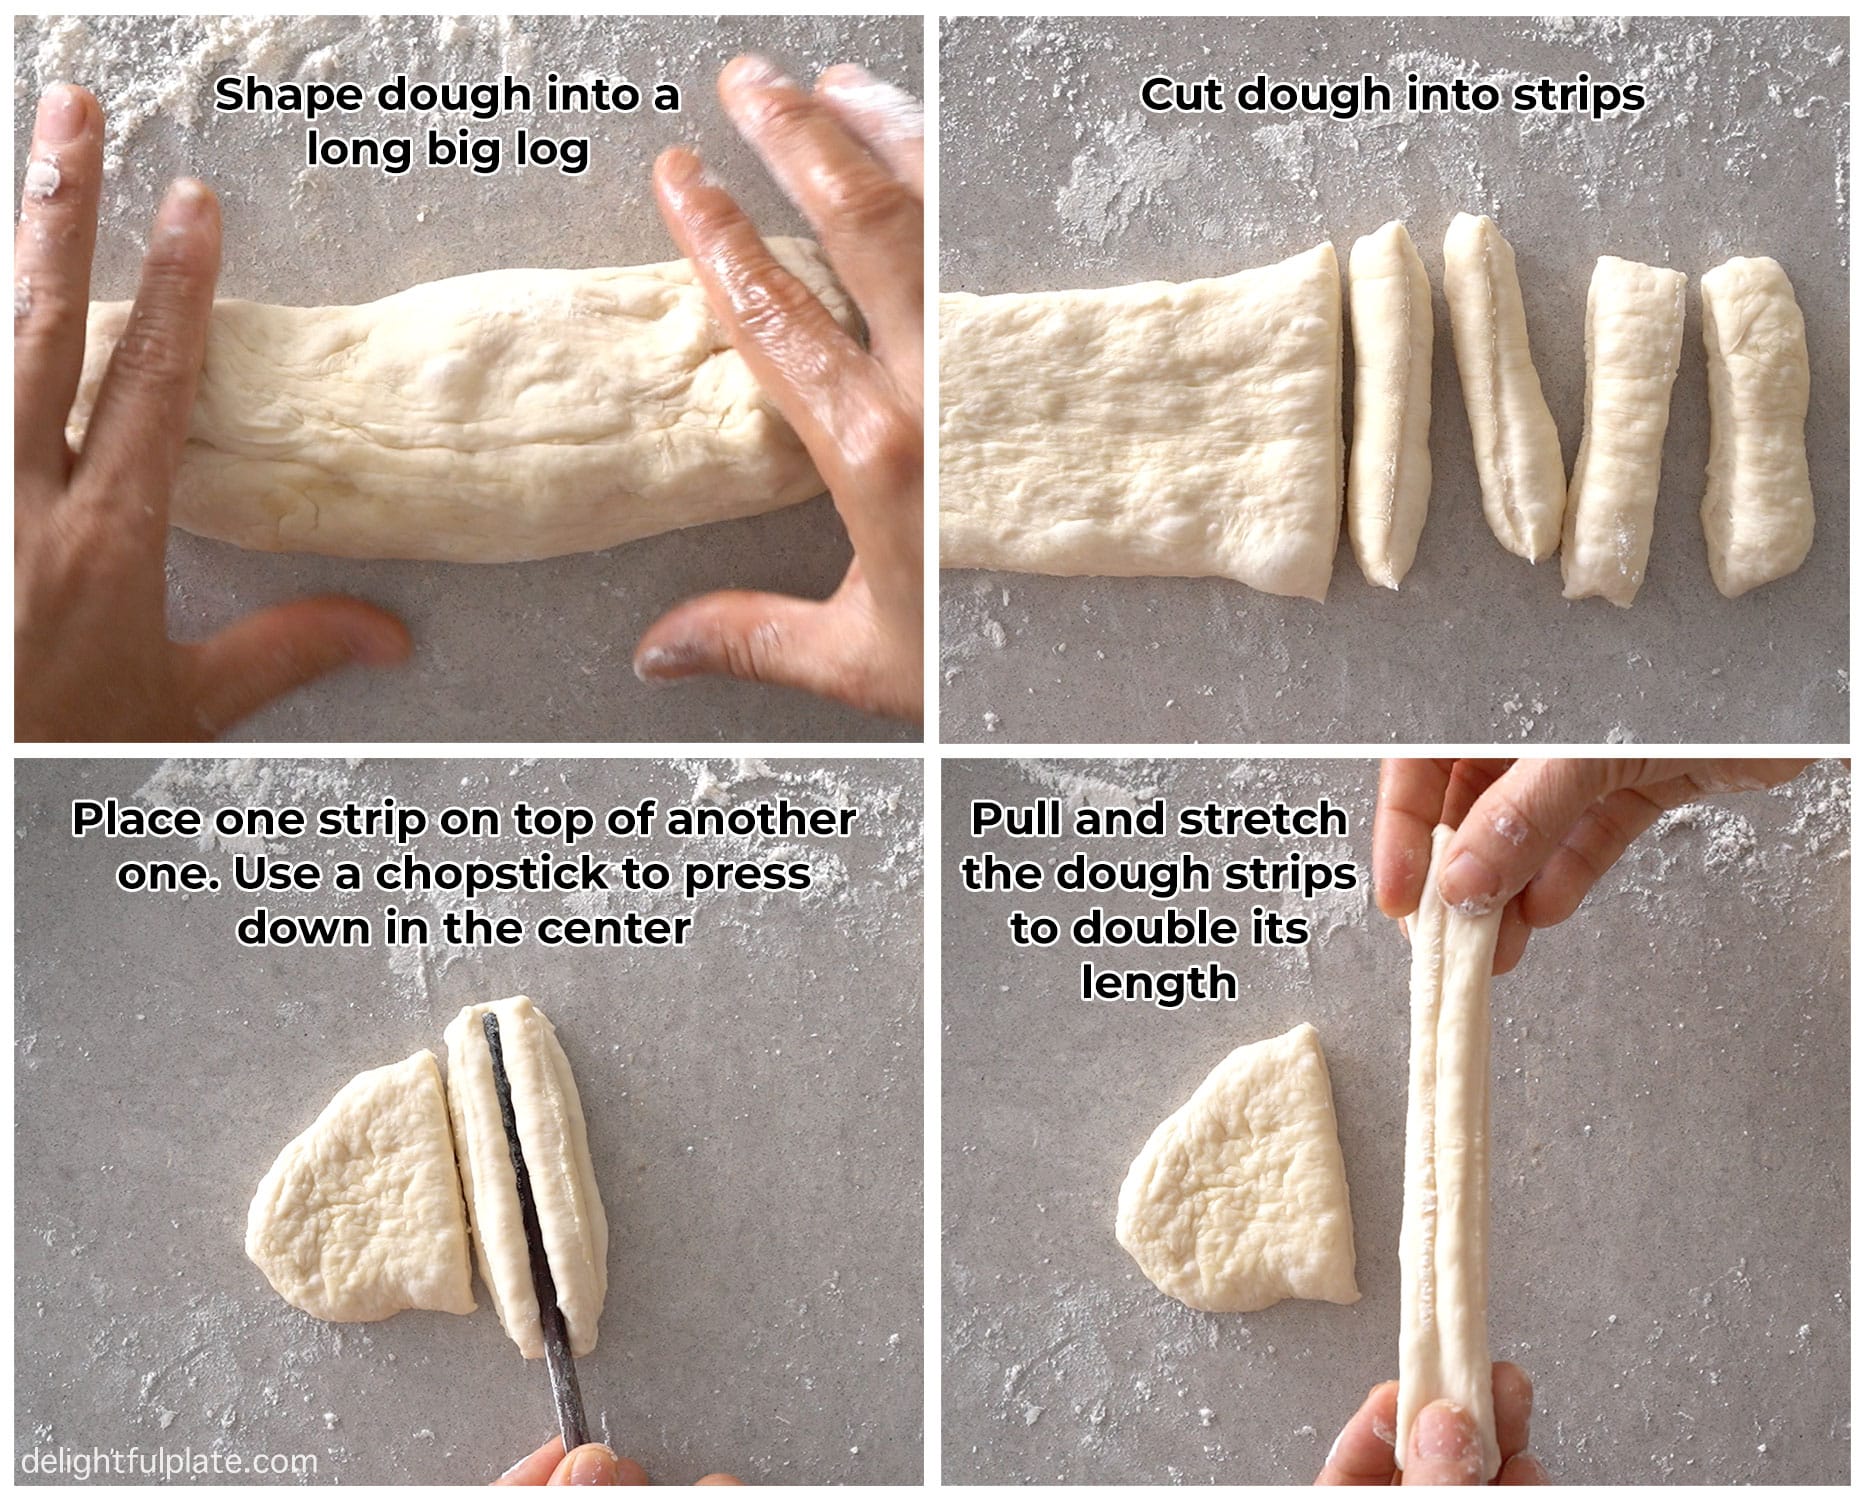
We will need to pull and stretch the dough strips to at least double its length before frying. So make sure to check the size of your deep fry pan before cutting the dough. Once the dough sticks are in the fry pan, turn and toss them constantly so that they expand evenly in all directions.
To make ahead and freeze: Once you are done frying youtiao, freeze the leftover. When you want to eat them, cut into shorter sections and spread them on a baking tray. Then bake until crispy.
How to Enjoy these Asian Dough Sticks
Here are a few ways to enjoy quẩy in Vietnam:
- toppings for congee, any types of congee you can think of like fish congee, ground pork congee or chicken congee.
- toppings for beef pho noodle soup: you will see this mostly at pho shops in the North of Vietnam.
- on their own as snacks or dip in nuoc cham dressing. This is also a way to eat quẩy in the North of Vietnam. We call this dish quẩy nóng and it is widely loved by young students. I was addicted to it during my high school time.
- dip in bạc xỉu, which is milk flavored with coffee, a Southern Vietnamese drink. My Saigonese friend loves eating it like this, and I really need to try it myself.
Youtiao is also an essential accompaniment for Singaporean bak kut teh.
⭐️ I’d love to hear what you think about the dish, so please feel free to leave a comment and a rating if you have tried it. New recipes are added every week so let’s connect on Facebook, Youtube, Pinterest and Instagram for the latest updates. You can find my collection of Vietnamese recipes here.
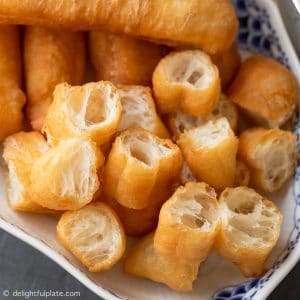
Fried Dough Sticks (Youtiao/Quẩy)
Ingredients
- 3/4 cup warm water (about 115°F, or 45°C)
- 1 teaspoon sugar
- 1 teaspoon instant yeast
- 7 oz bread flour (plus more for dusting)
- 1/2 teaspoon salt
- 1/2 teaspoon baking powder
- 2 teaspoon neutral-flavored oil (and plenty more for frying)
Instructions
- In a bowl, add warm water then add sugar and yeast. Give it a quick stir and set aside for several minutes to activate the yeast.
- In a mixing bowl, add flour, salt, and baking powder and stir to combine.
- Once the yeast has been activated, add oil, stir and then add the mixure to the dry ingredients. Use a spatula or wooden spoon to mix and combine until a soft dough is formed.
- Place the dough in a Ziploc bag, seal it and place in the refrigerator to rest for 12-24 hours or at least overnight.
- After resting the dough, take it out of the refrigerator and leave it on the counter for 10-15 minutes so that it isn't too cold.
- Dust a clean working surface and take the dough out of the bag. Dust the dough and then divide in half.
- Shape each half into a long log and press to deflate. Cover the one that you have not worked on to avoid drying it out.
- Cut the dough into 3''x1¼'' strips. Place one strip on top of another one. Wet the tip of a chopstick and dust it with some flour, then press the chopstick down in the center of the dough strips. Please refer to the video in the post to see how to do this.
- Heat plenty of oil in a deep fry pan until the oil reaches 350°F. Pull and stretch the dough sticks to double its length and add it to the oil. Immediately toss and turn the sticks constantly in the oil so that they will expand evenly in all directions. Once the sticks are done expanding, you just need to flip them a few times and fry until golden and crispy.
- Continue to shape and fry the dough sticks until there is no more dough left.



Hii tysm for the reply, I haven’t tried it yet, yesterday I did made you tiao but with another recipe that I found since they called for only 2-4hr of waiting so I just went ahead since I’m not really patient with food haha. But it came out not as fluffy and airy a you tiao should be since the other recipe uses a.p flour and no yeast, but it do came out nicely and edible. I’m thinking of using your recipe and I’ll make sure I post another comment when I did!
Hi, can I cut down the waiting time? If so, how long?
Hi Nesya,
I think the shortest I have tried is 12 hours. A reader left me a comment on Youtube and said she let the dough rest for 6 hours and it was still crispy and delicious for her. I look forward to hearing how it turns out for you. Thanks!
Hii tysm for the reply, I haven’t tried it yet, yesterday I did made you tiao but with another recipe that I found since they called for only 2-4hr of waiting so I just went ahead since I’m not really patient with food haha. But it came out not as fluffy and airy a you tiao should be since the other recipe uses a.p flour and no yeast, but it do came out nicely and edible. I’m thinking of using your recipe and I’ll make sure I post another comment when I did!